
We're in the holiday spirit over here at Paper by JLee so we have a fun, festive watercolor tutorial for you today: painting Christmas tree ornaments! This can be a great piece to use as you decorate your home for the holidays, or as a Christmas card to send to family and friends. Before we start, if you haven't read it yet, take a look at this post to learn more about the supplies I typically use. Today, you'll need some watercolor paints, a large watercolor brush (I use a size 24 round), and watercolor paper. In this post I have a step-by-step guide to painting the ornaments as well as a time-lapse video showing the whole process (scroll to the bottom for the video or click here!).
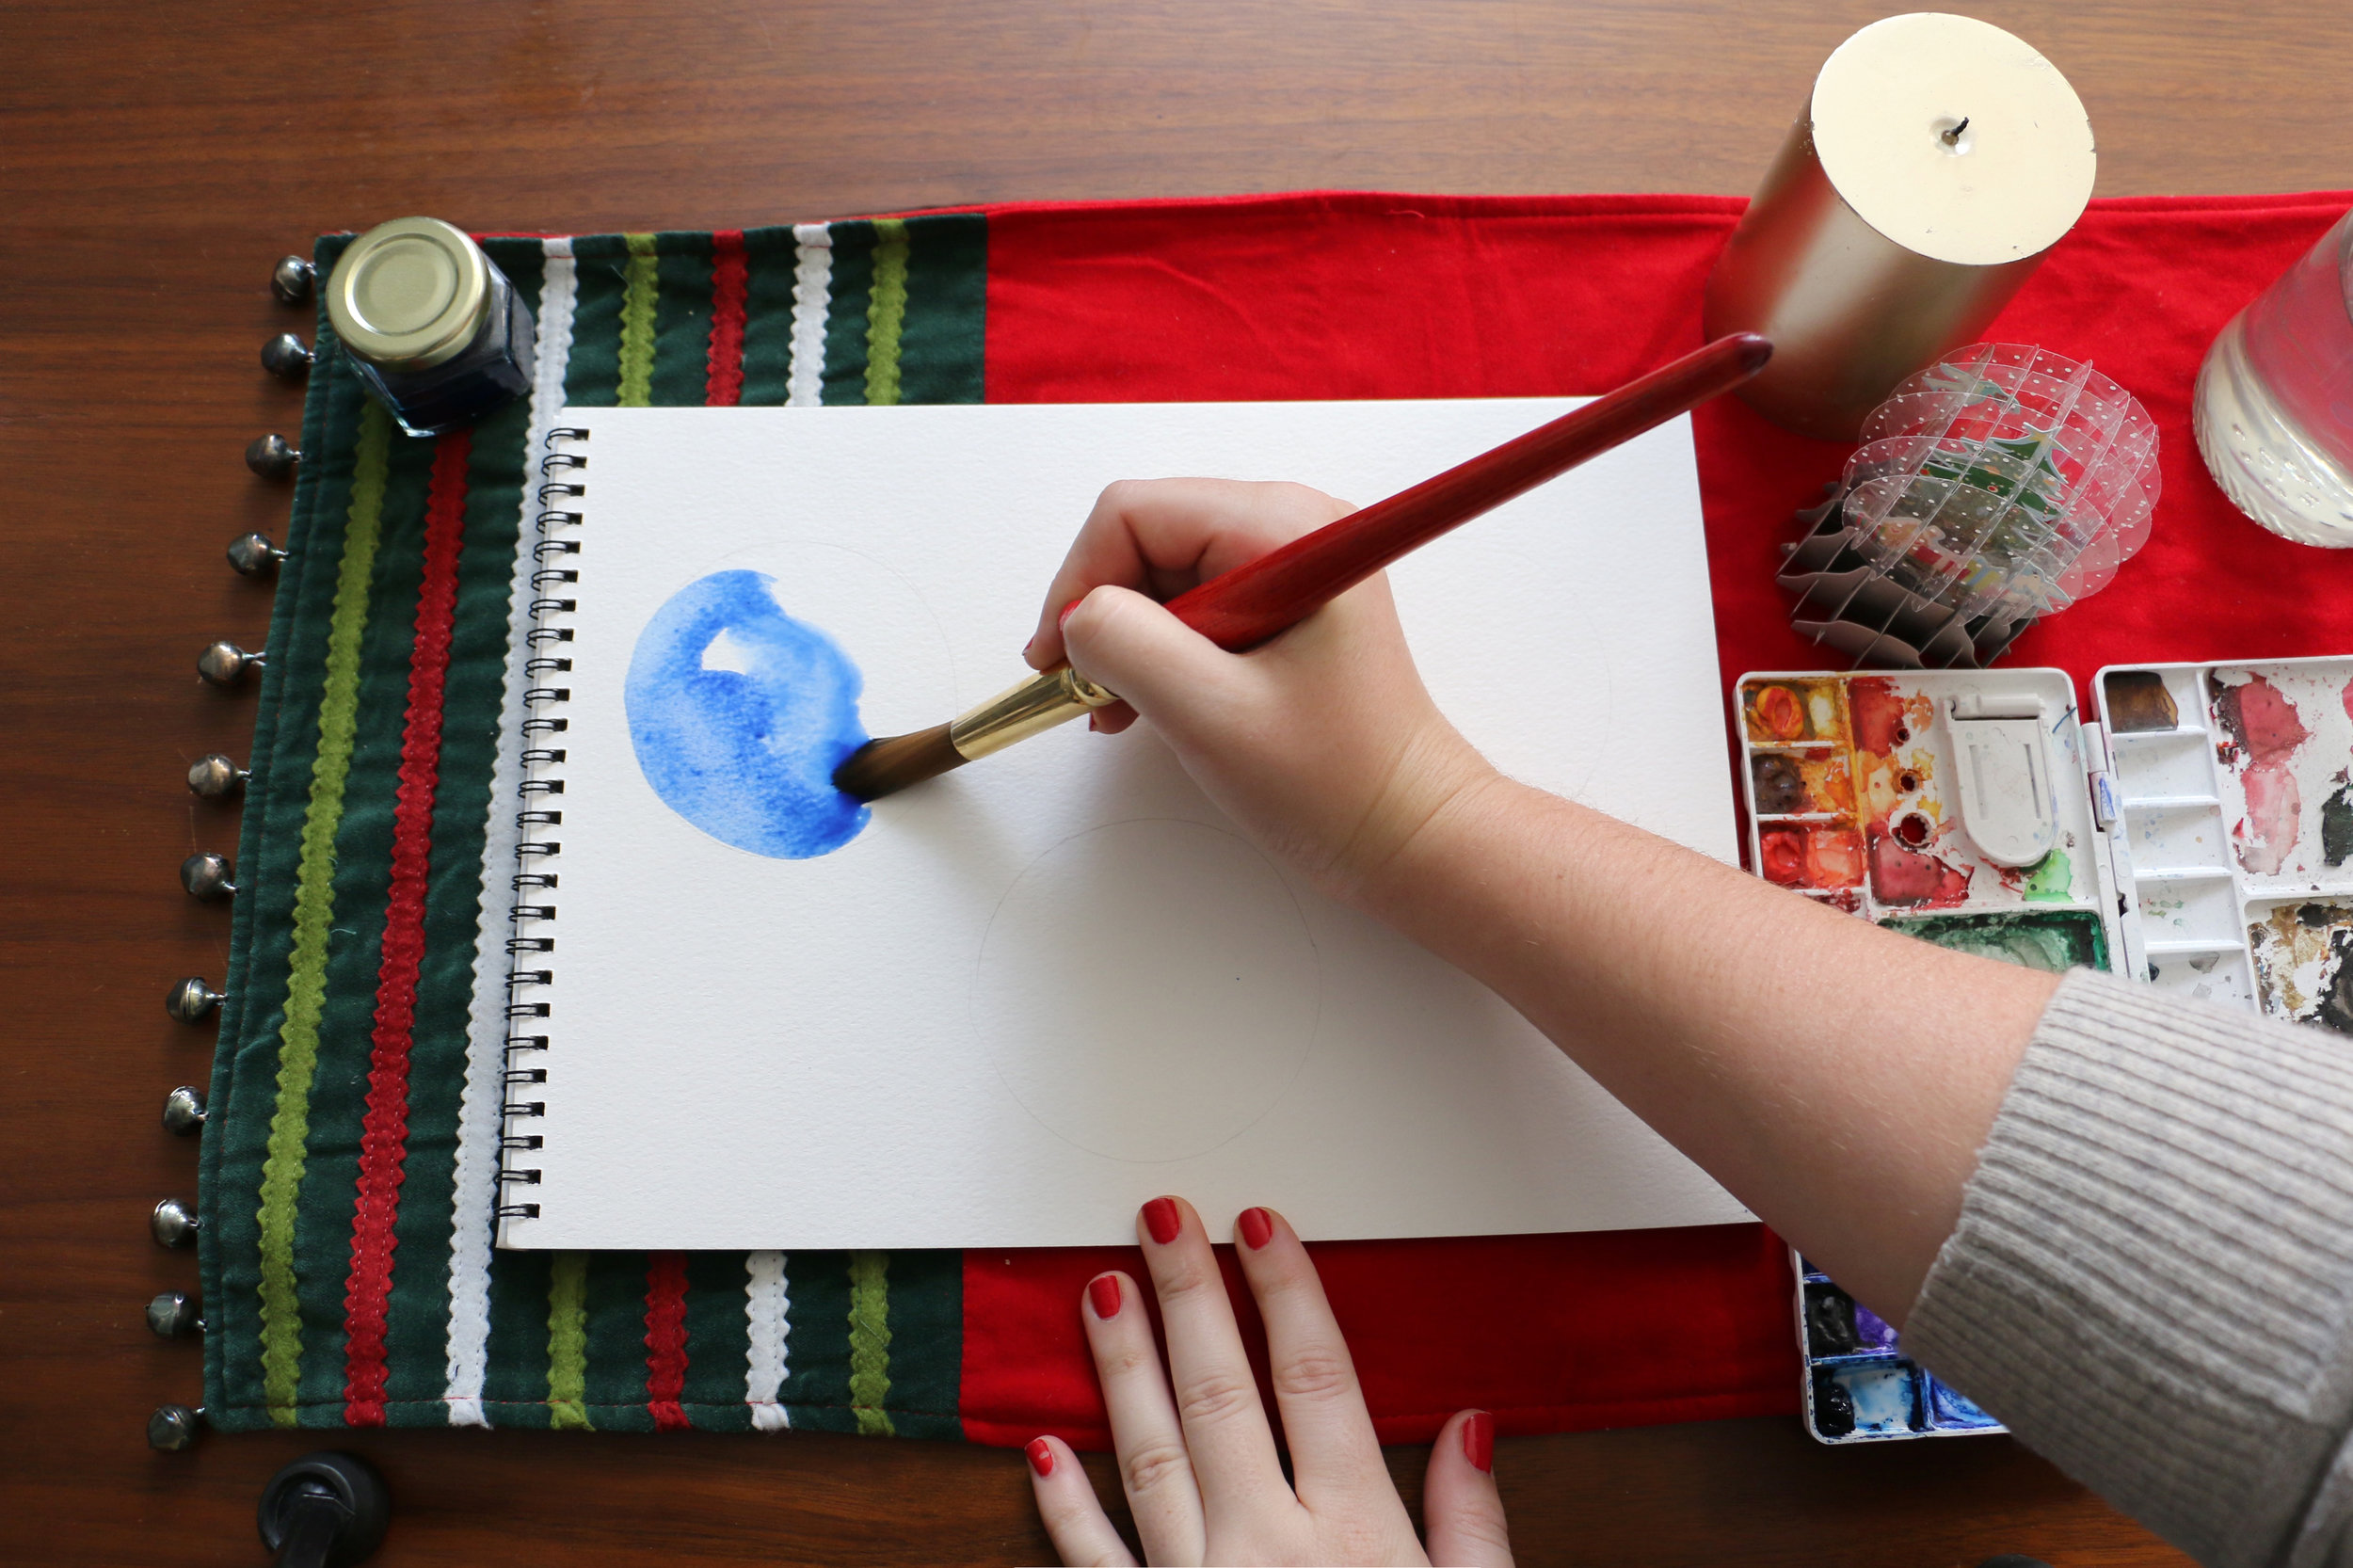
First, take a glass and trace three circles (or as many ornaments that you want to paint) on your watercolor paper.

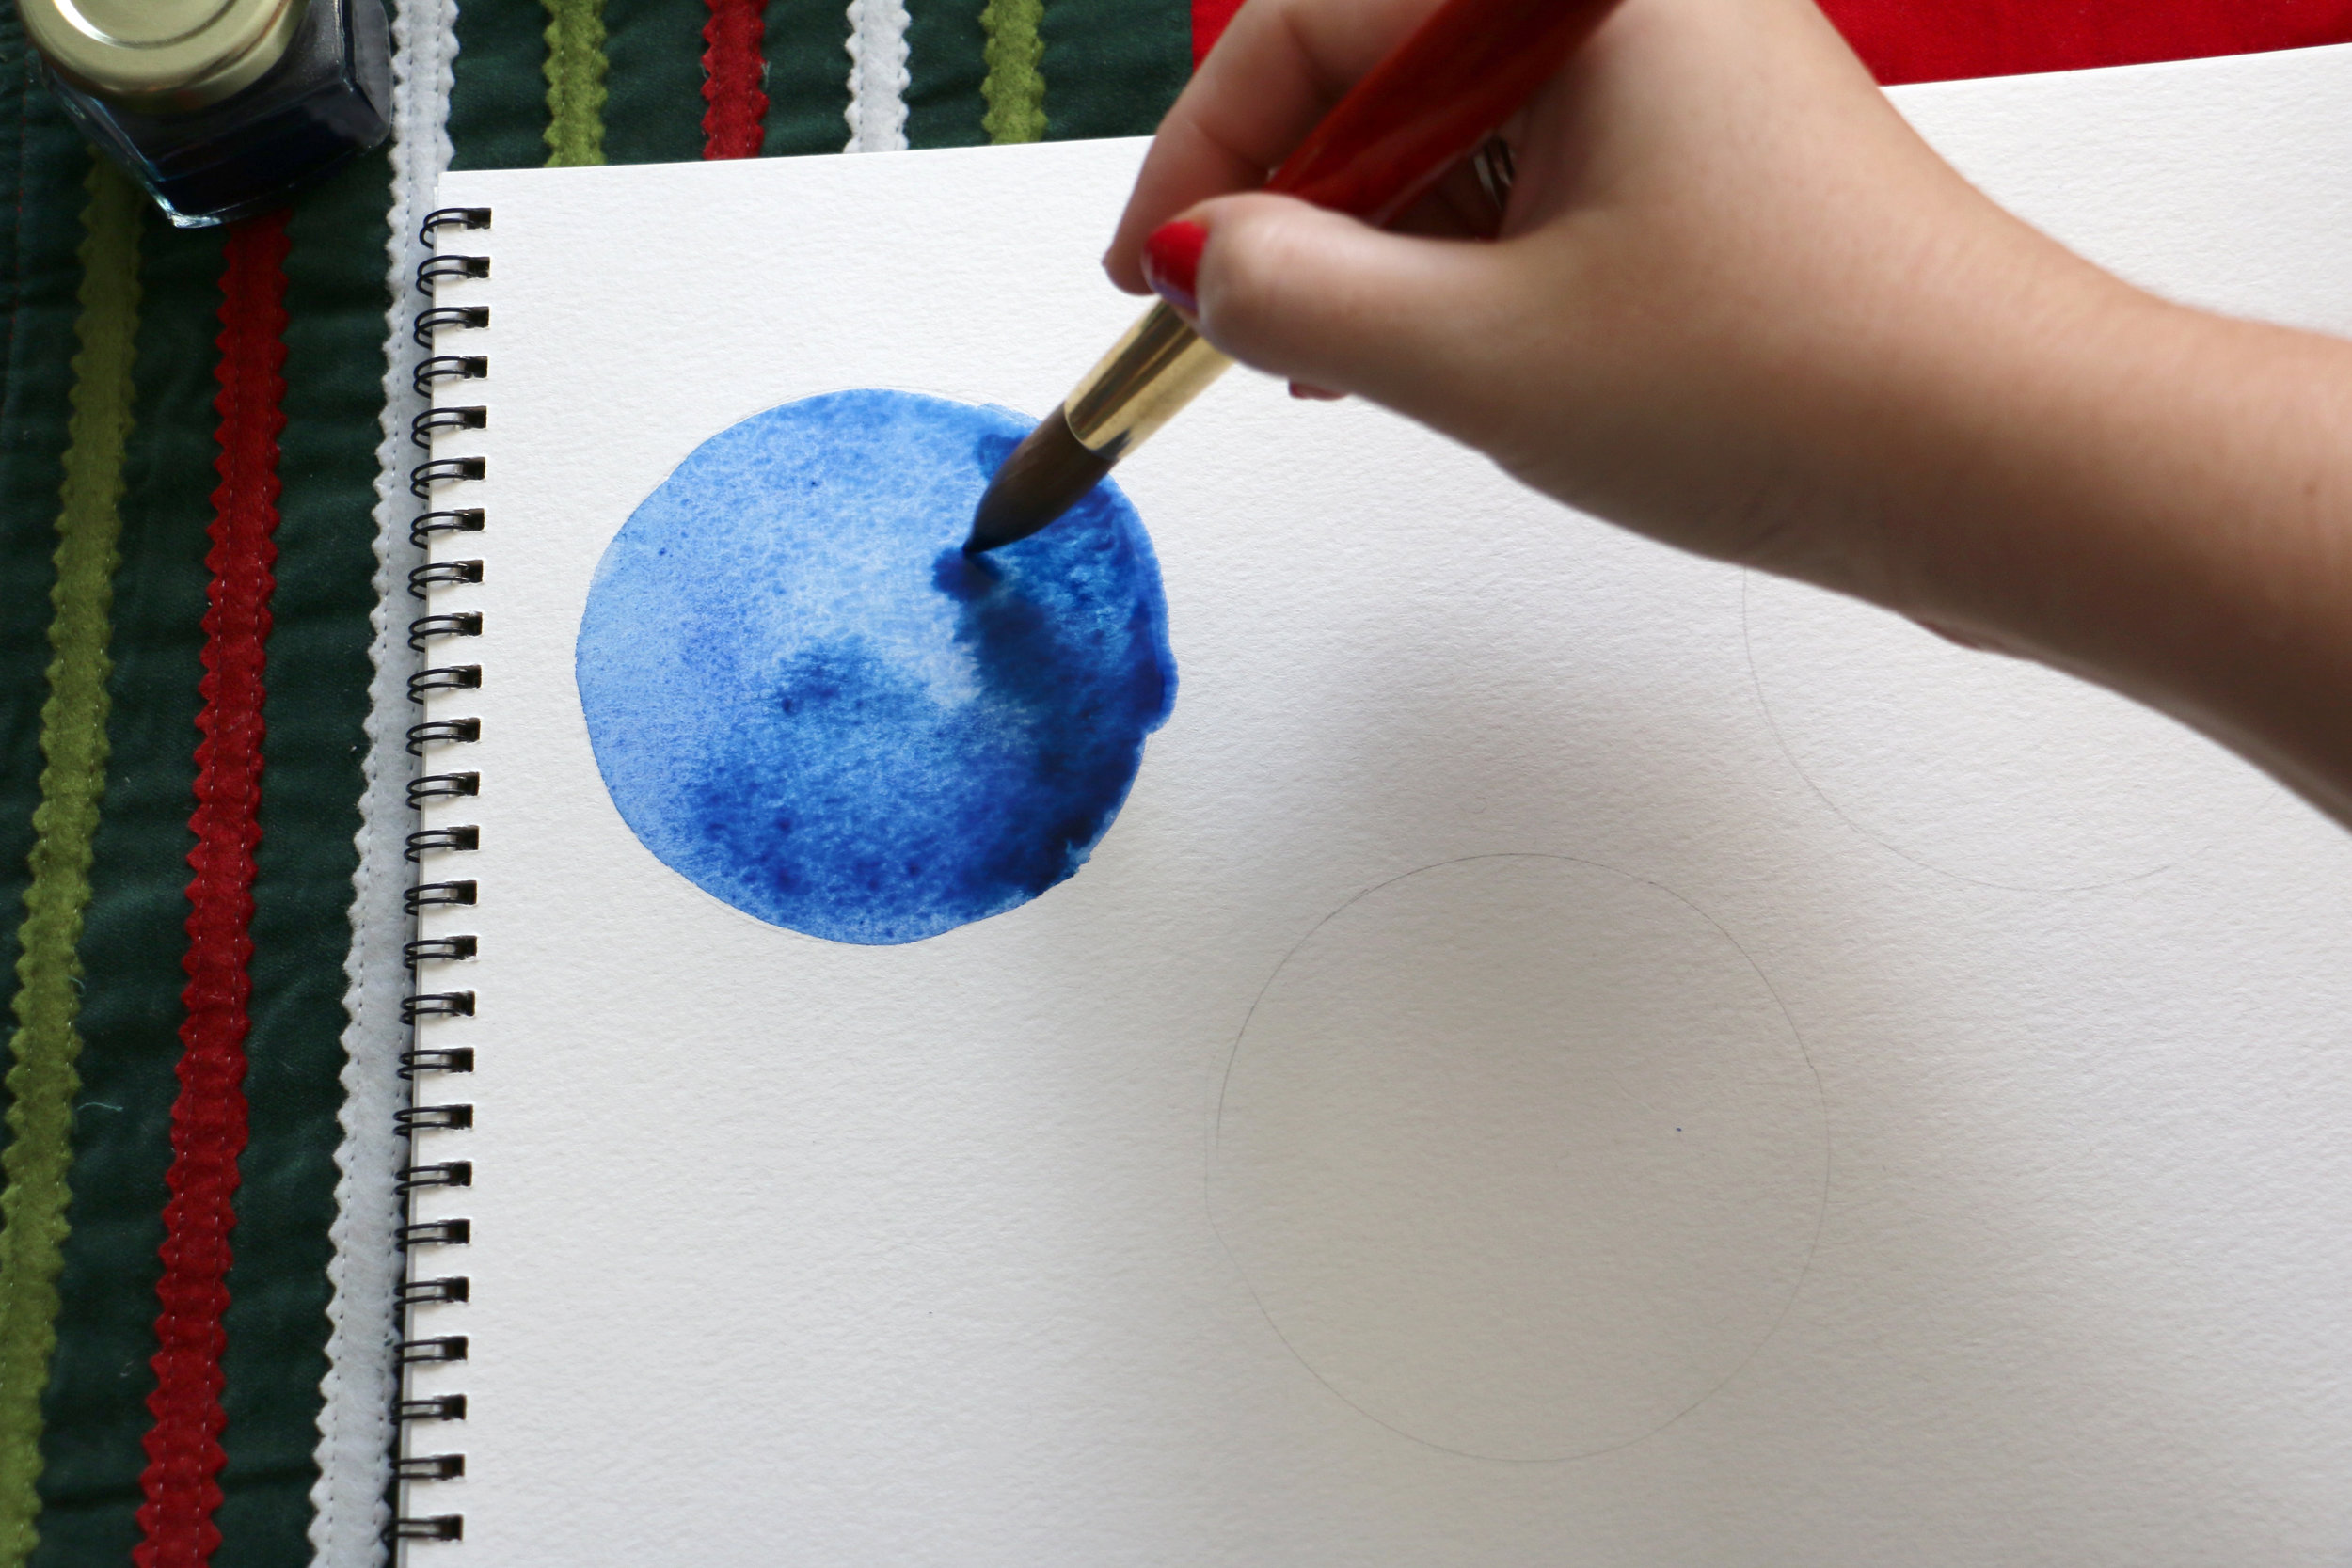
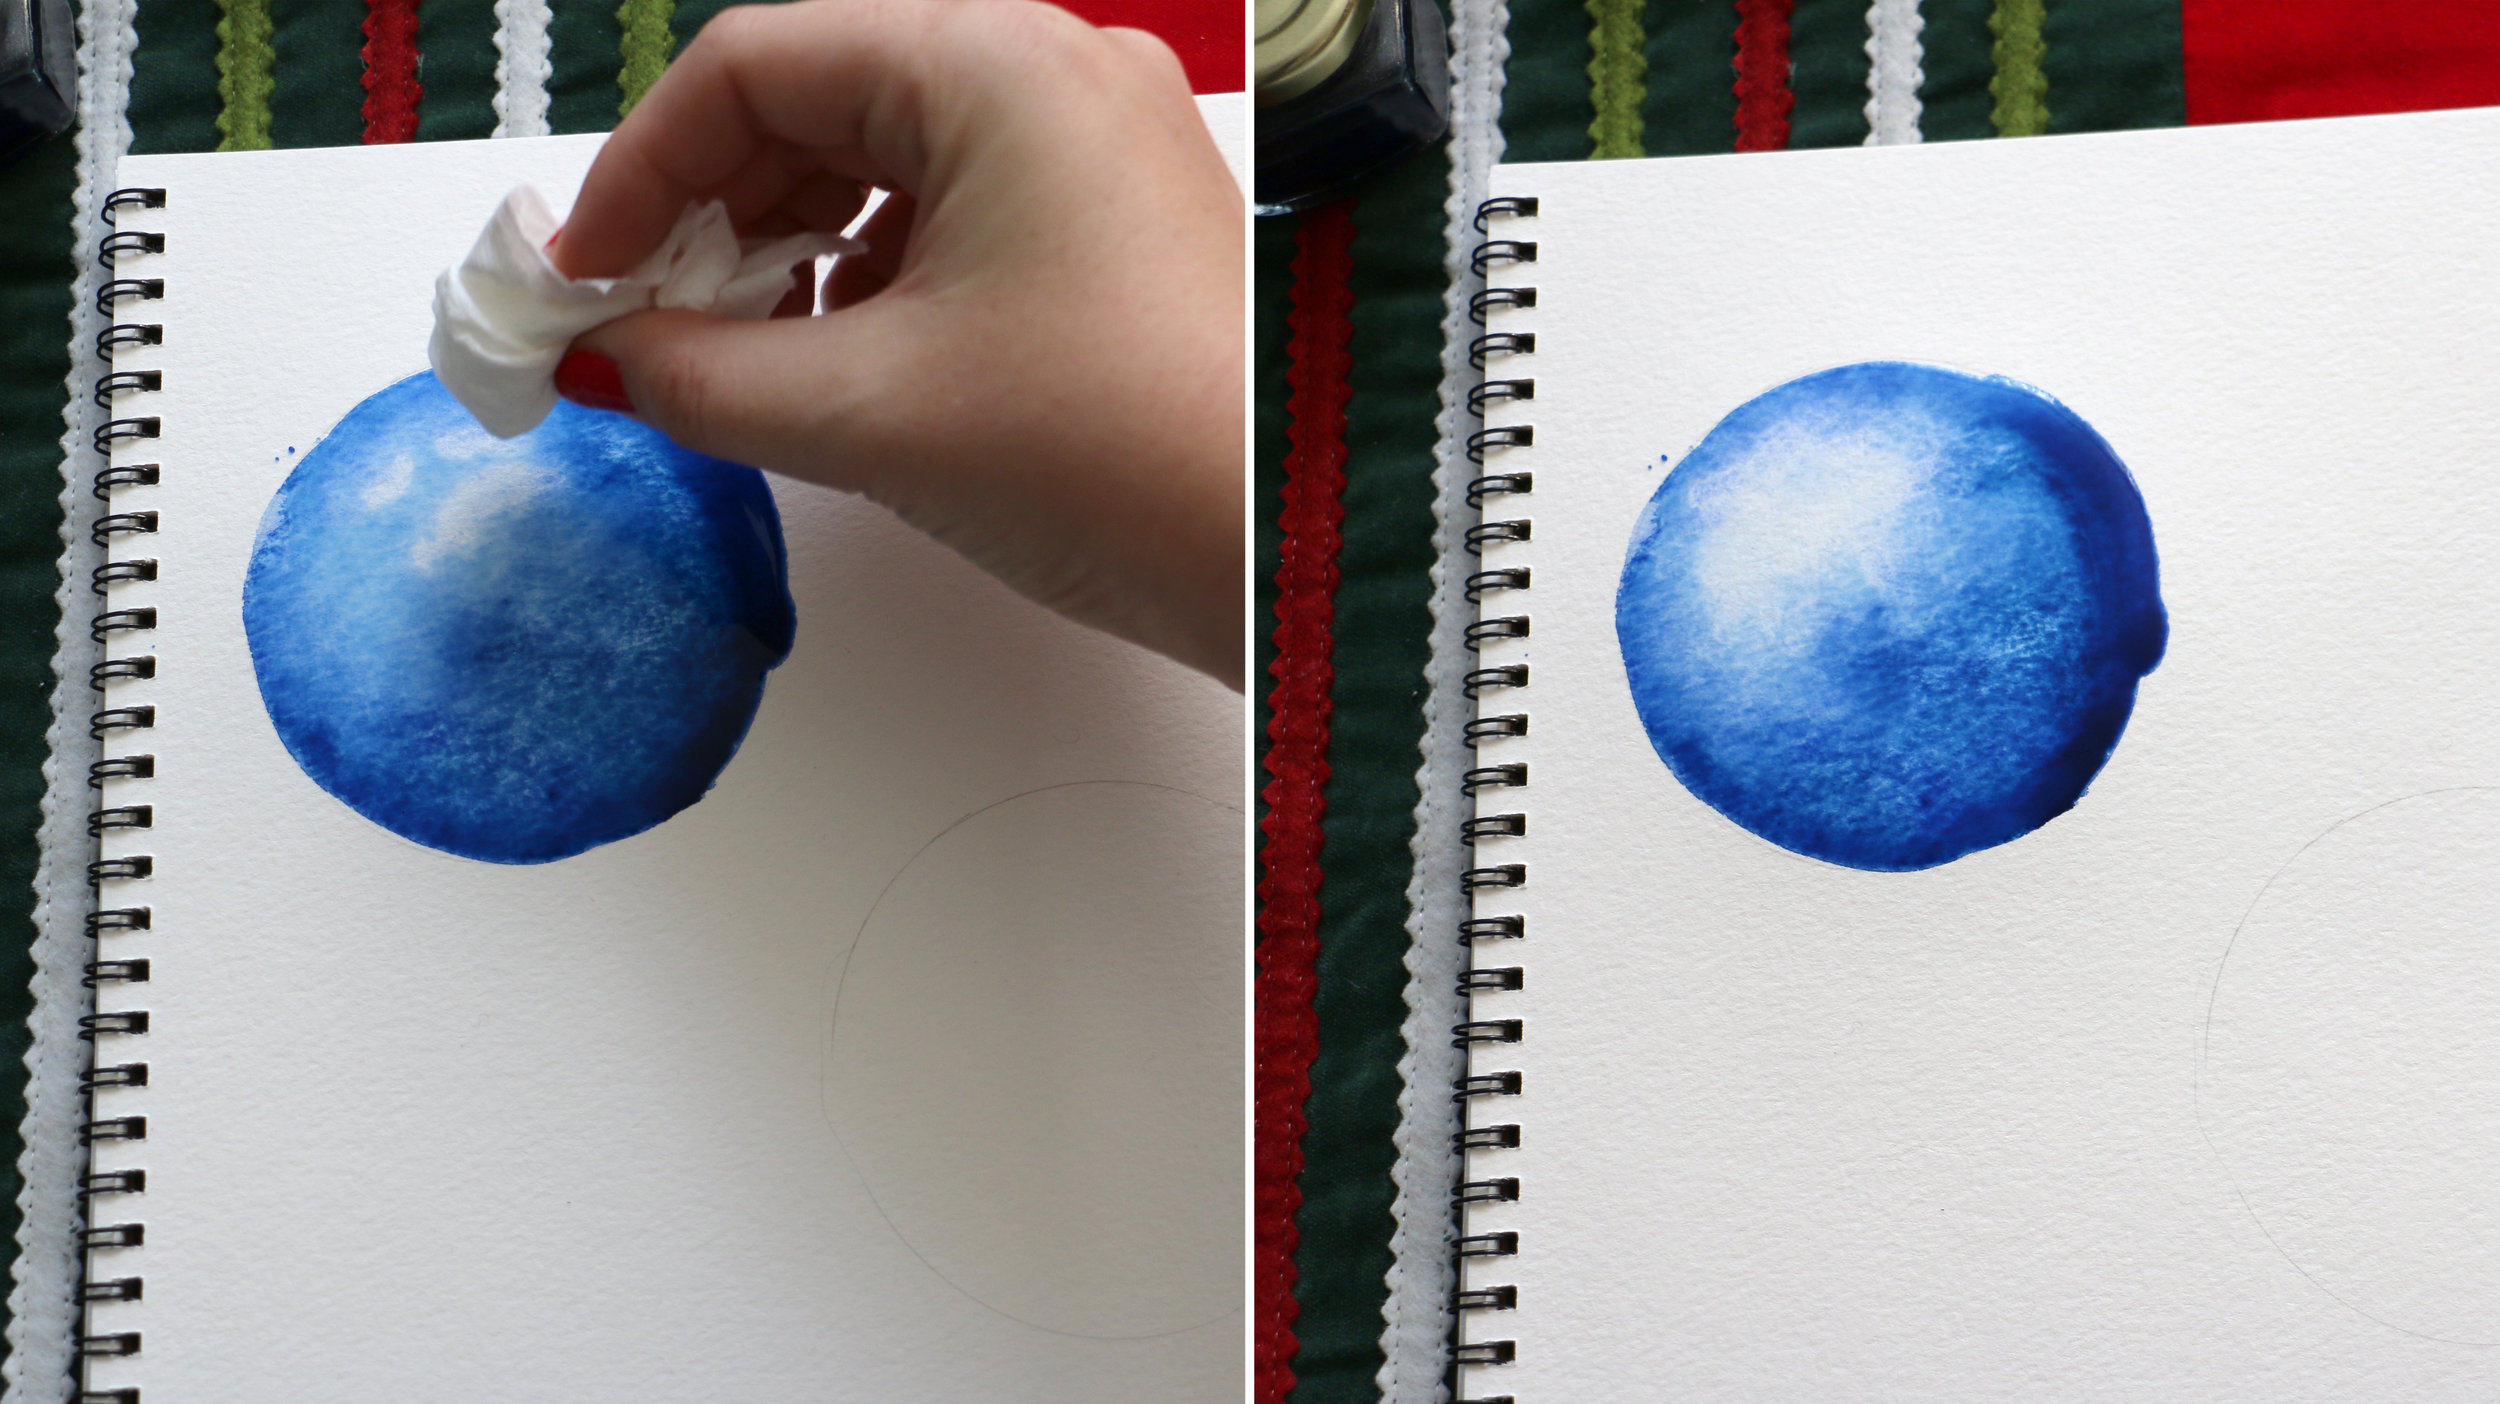
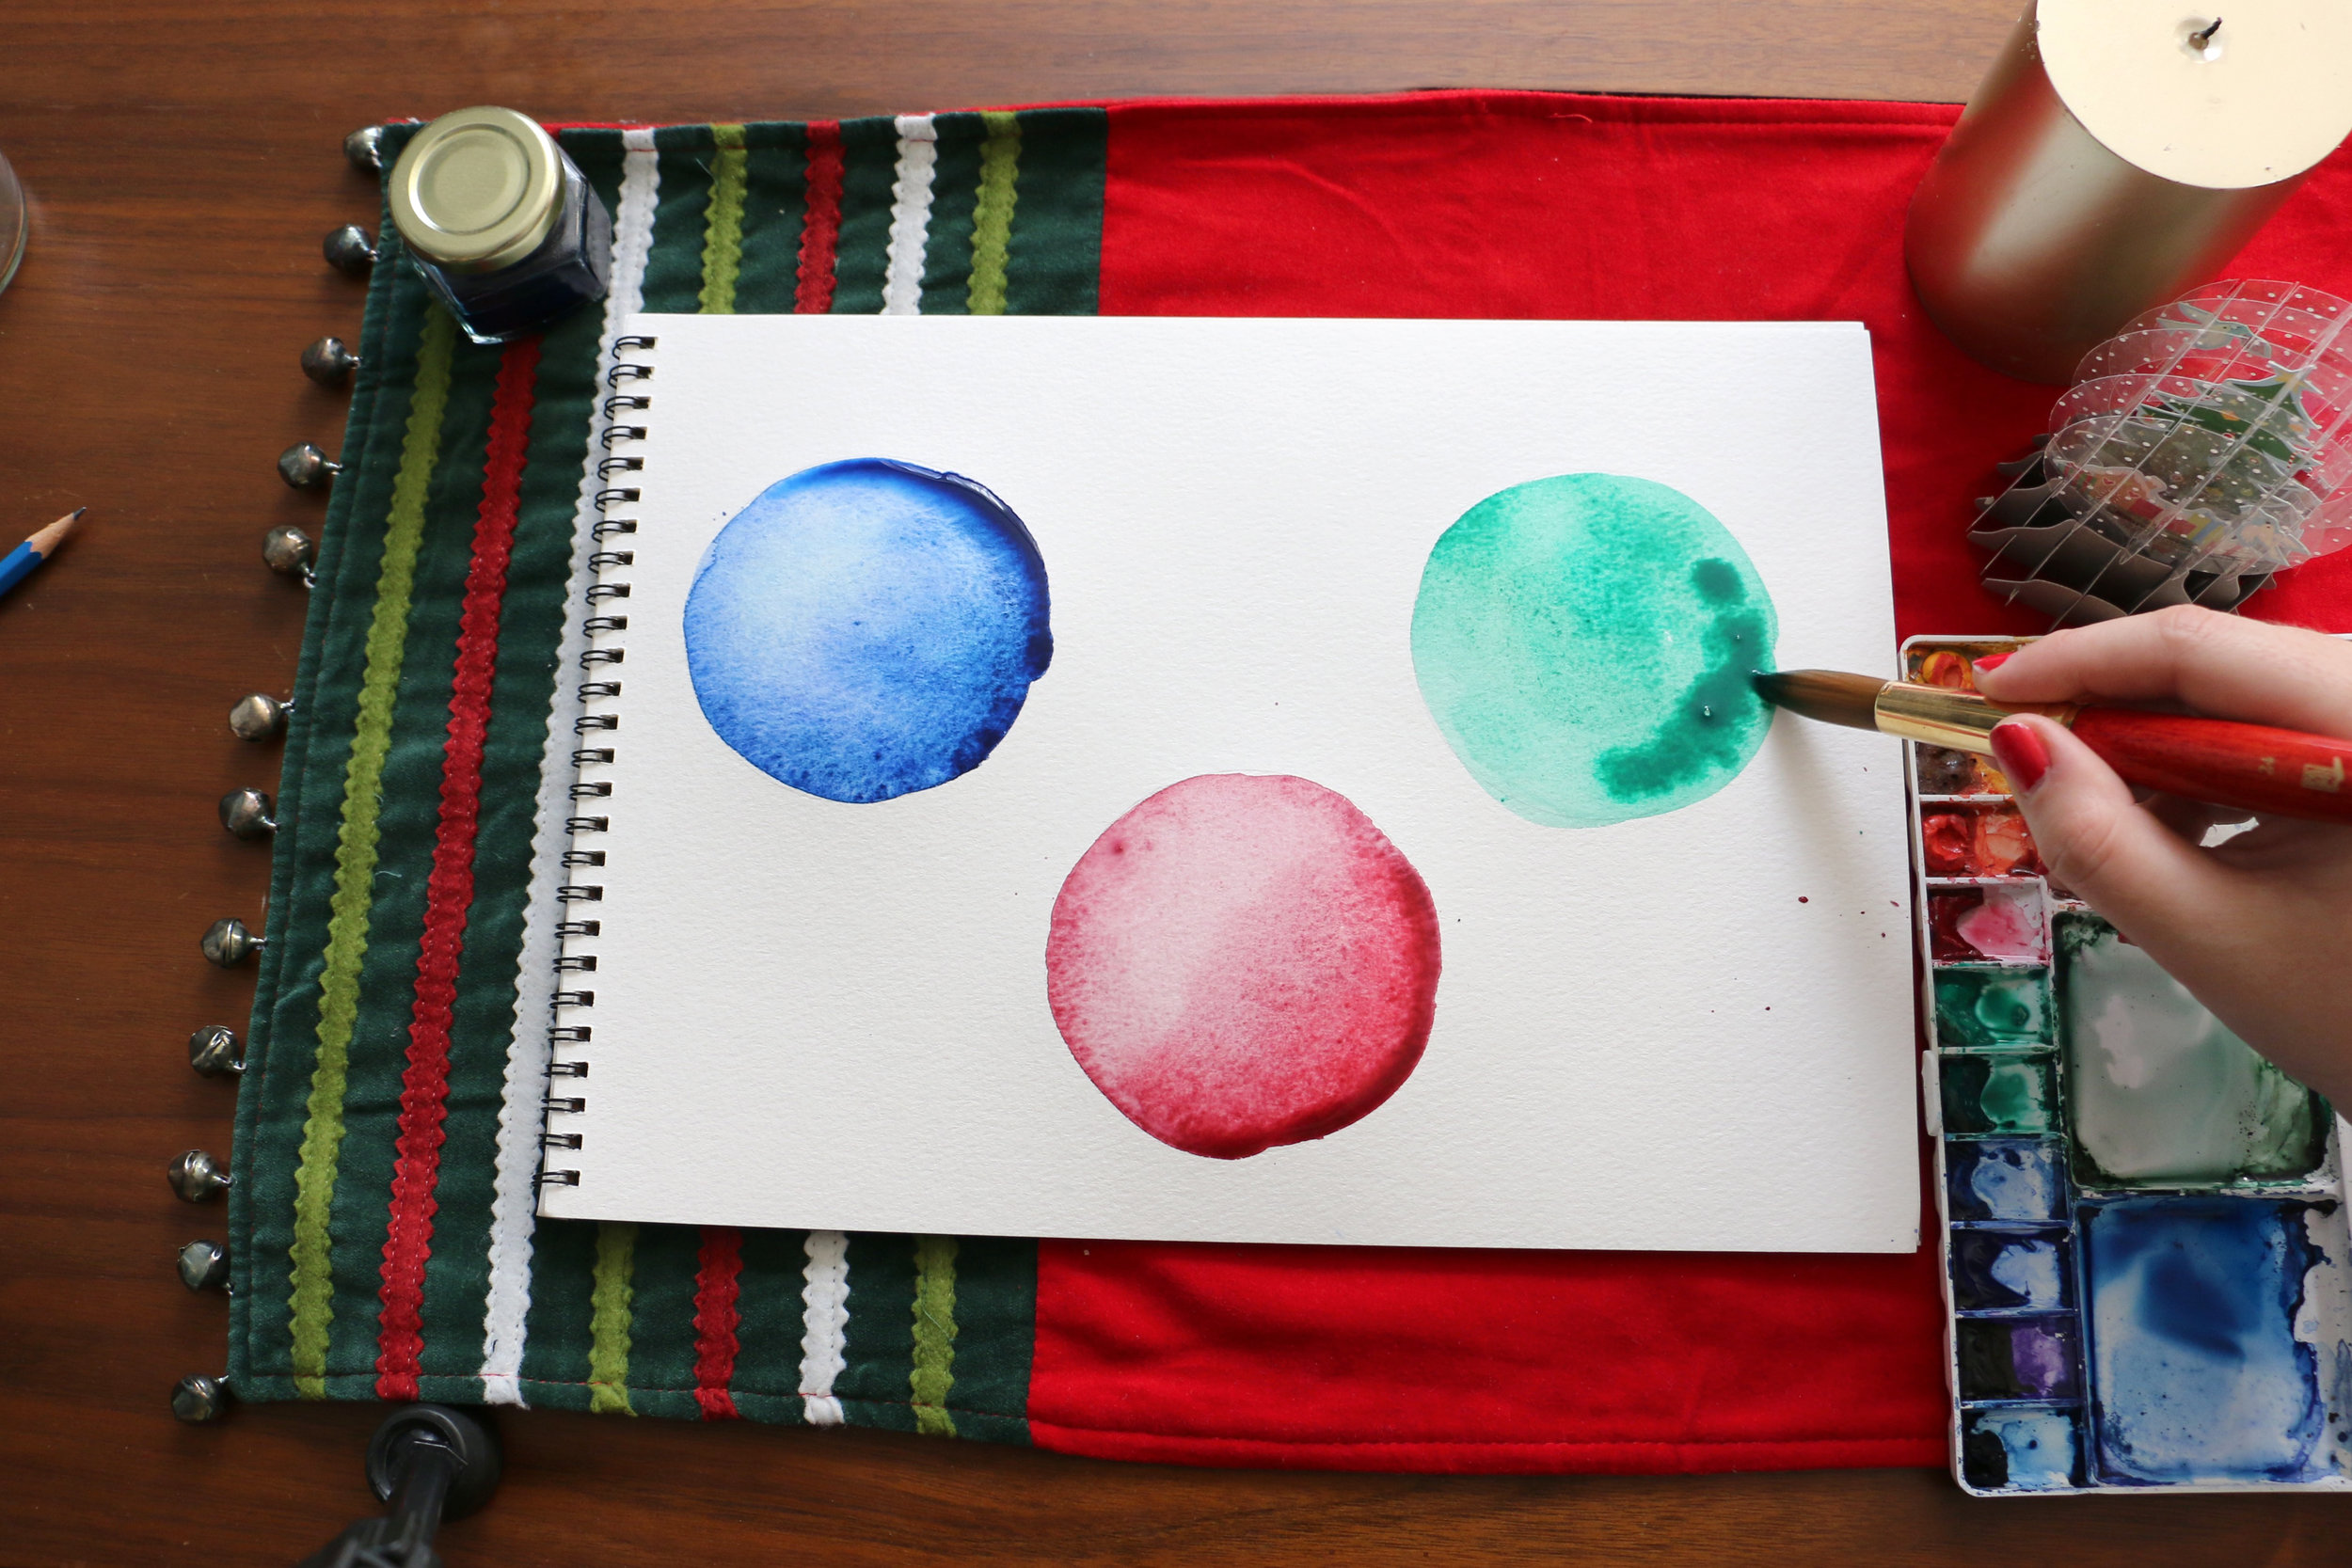
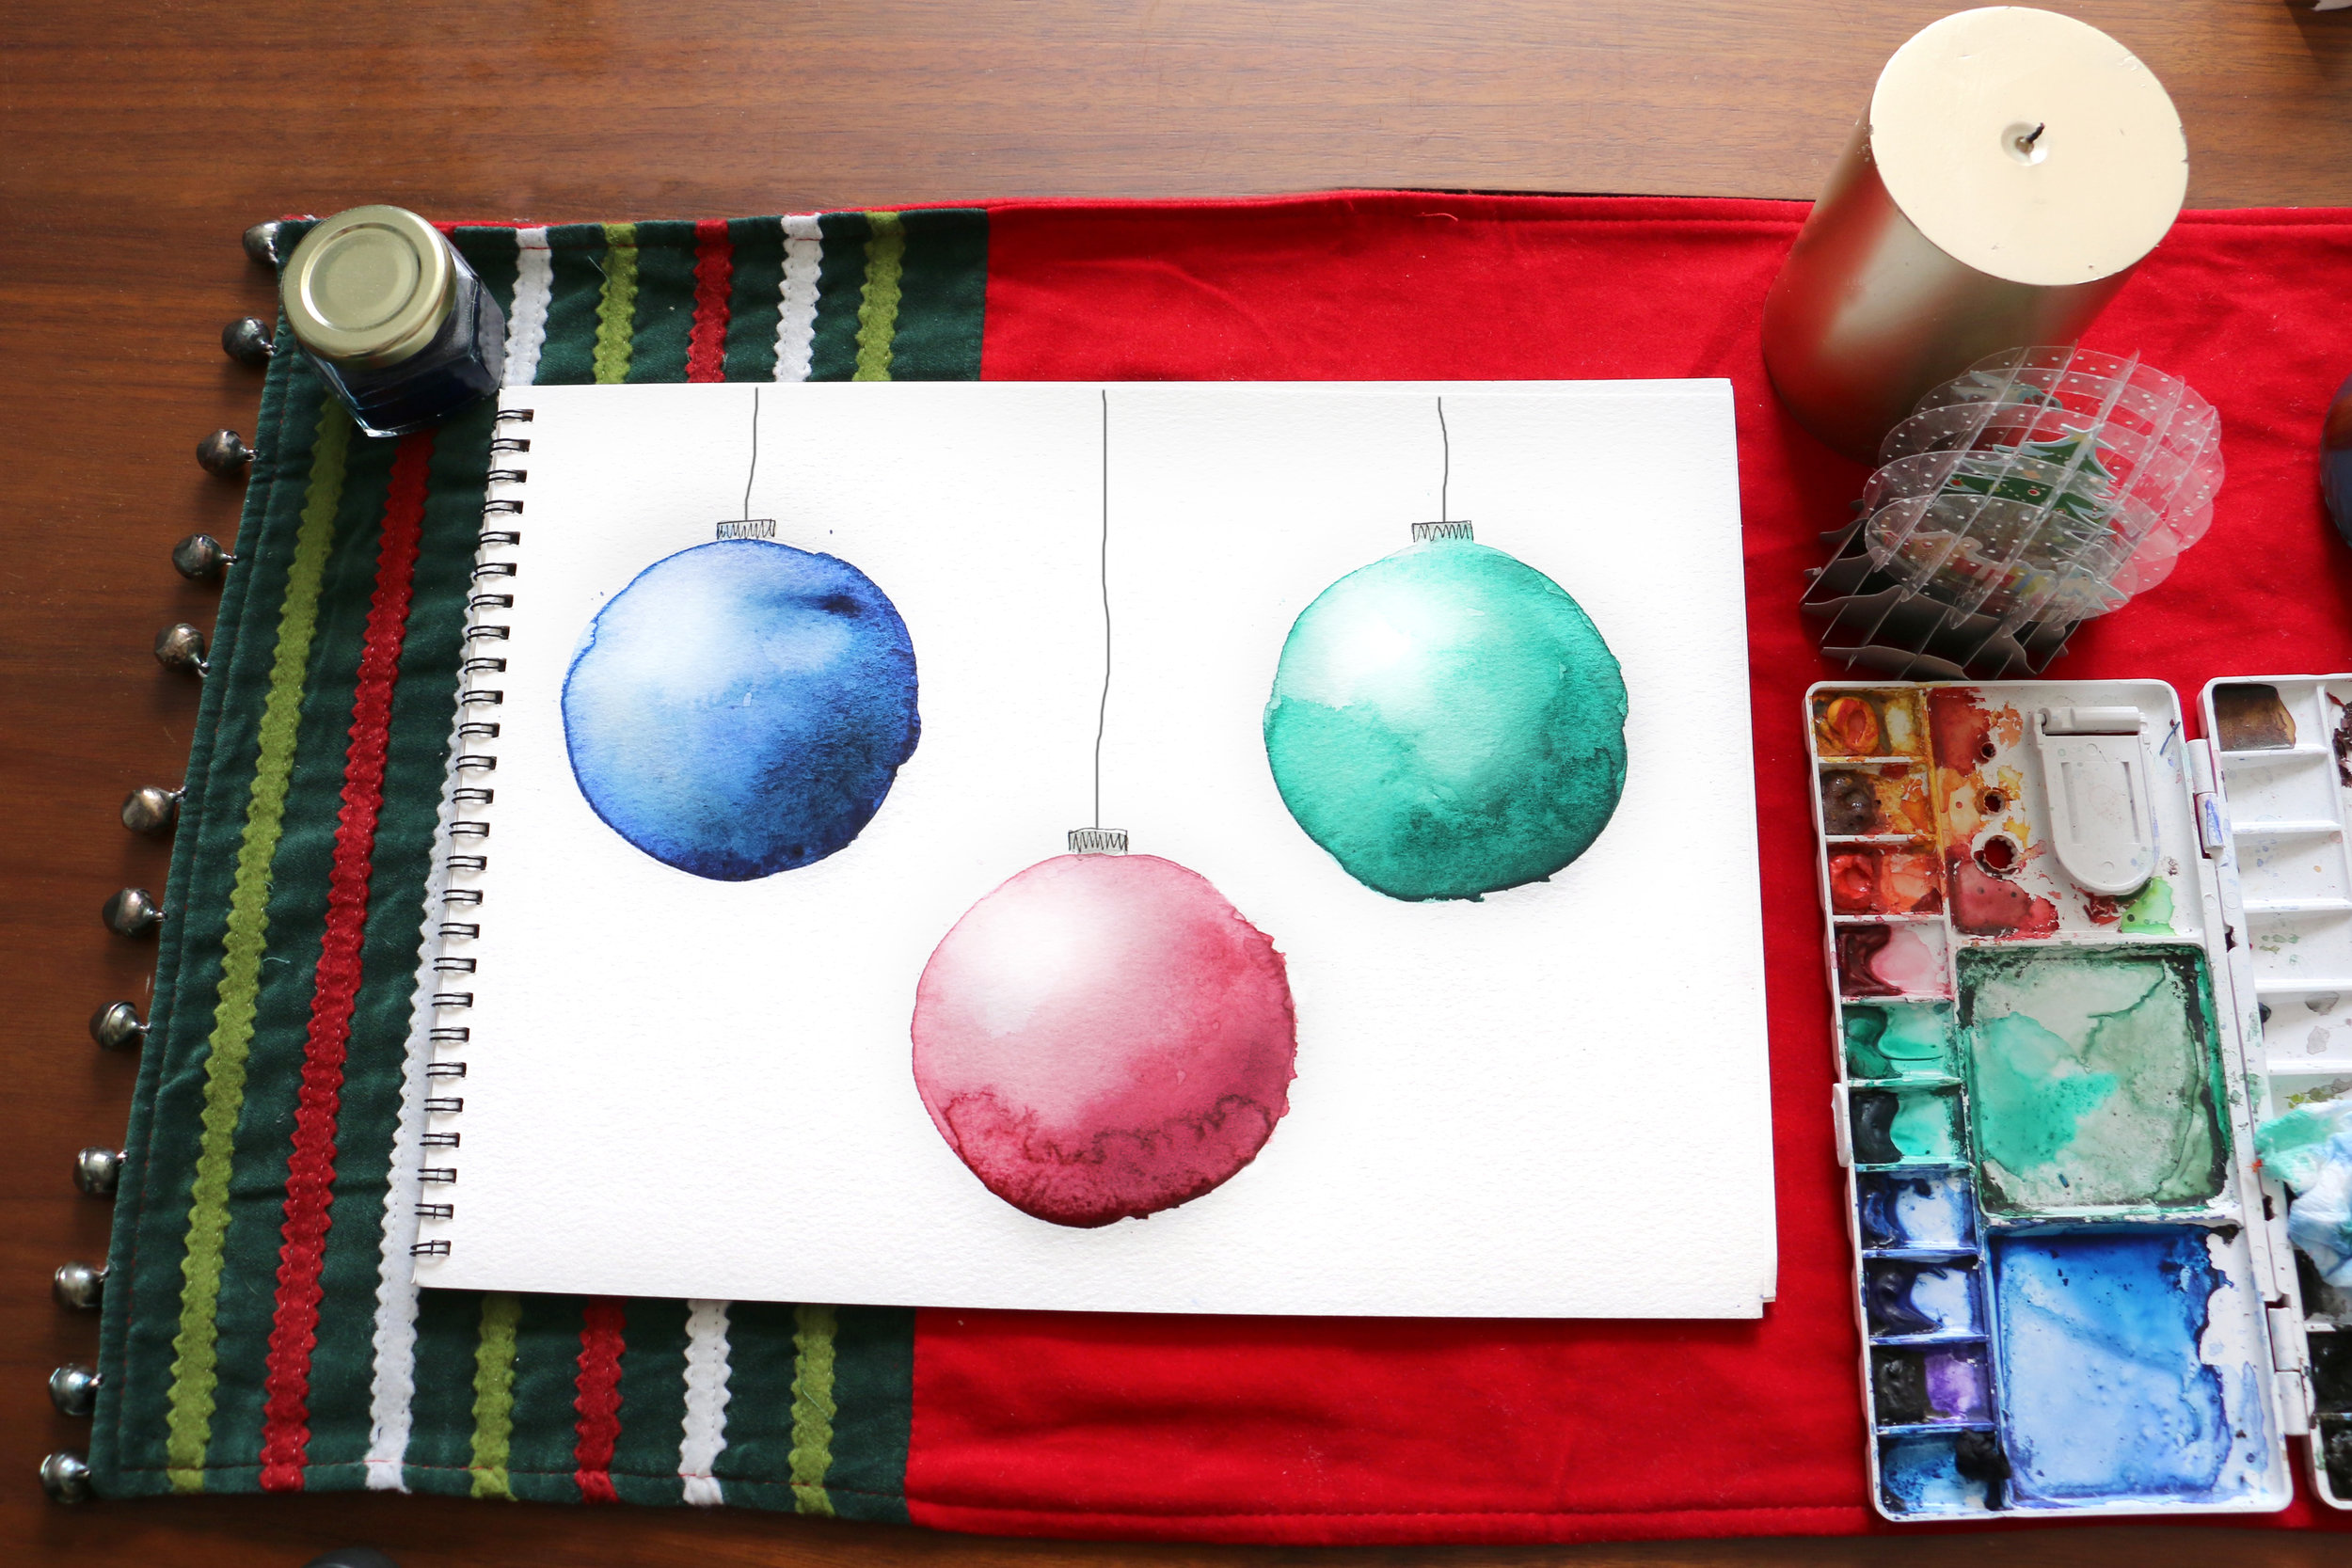
Next, take your brush and load it a good amount of pigment and brush an even wash in the first circle. This creates the base for your first ornament. Then, add as much pigment as you can to your brush and dab the color into place in the lower left-hand area of the ornament. This creates shadow for our round ornament. In the opposite area, use a crumpled-up paper towel to dab away some color and create a highlight effect. The contrast from the highlighted area and dark color creates a round-looking ornament. Don't worry if the ornament isn't perfectly round or if the highlight is uneven. That's the beauty of watercolors, imperfections make each painting more interesting and unique.
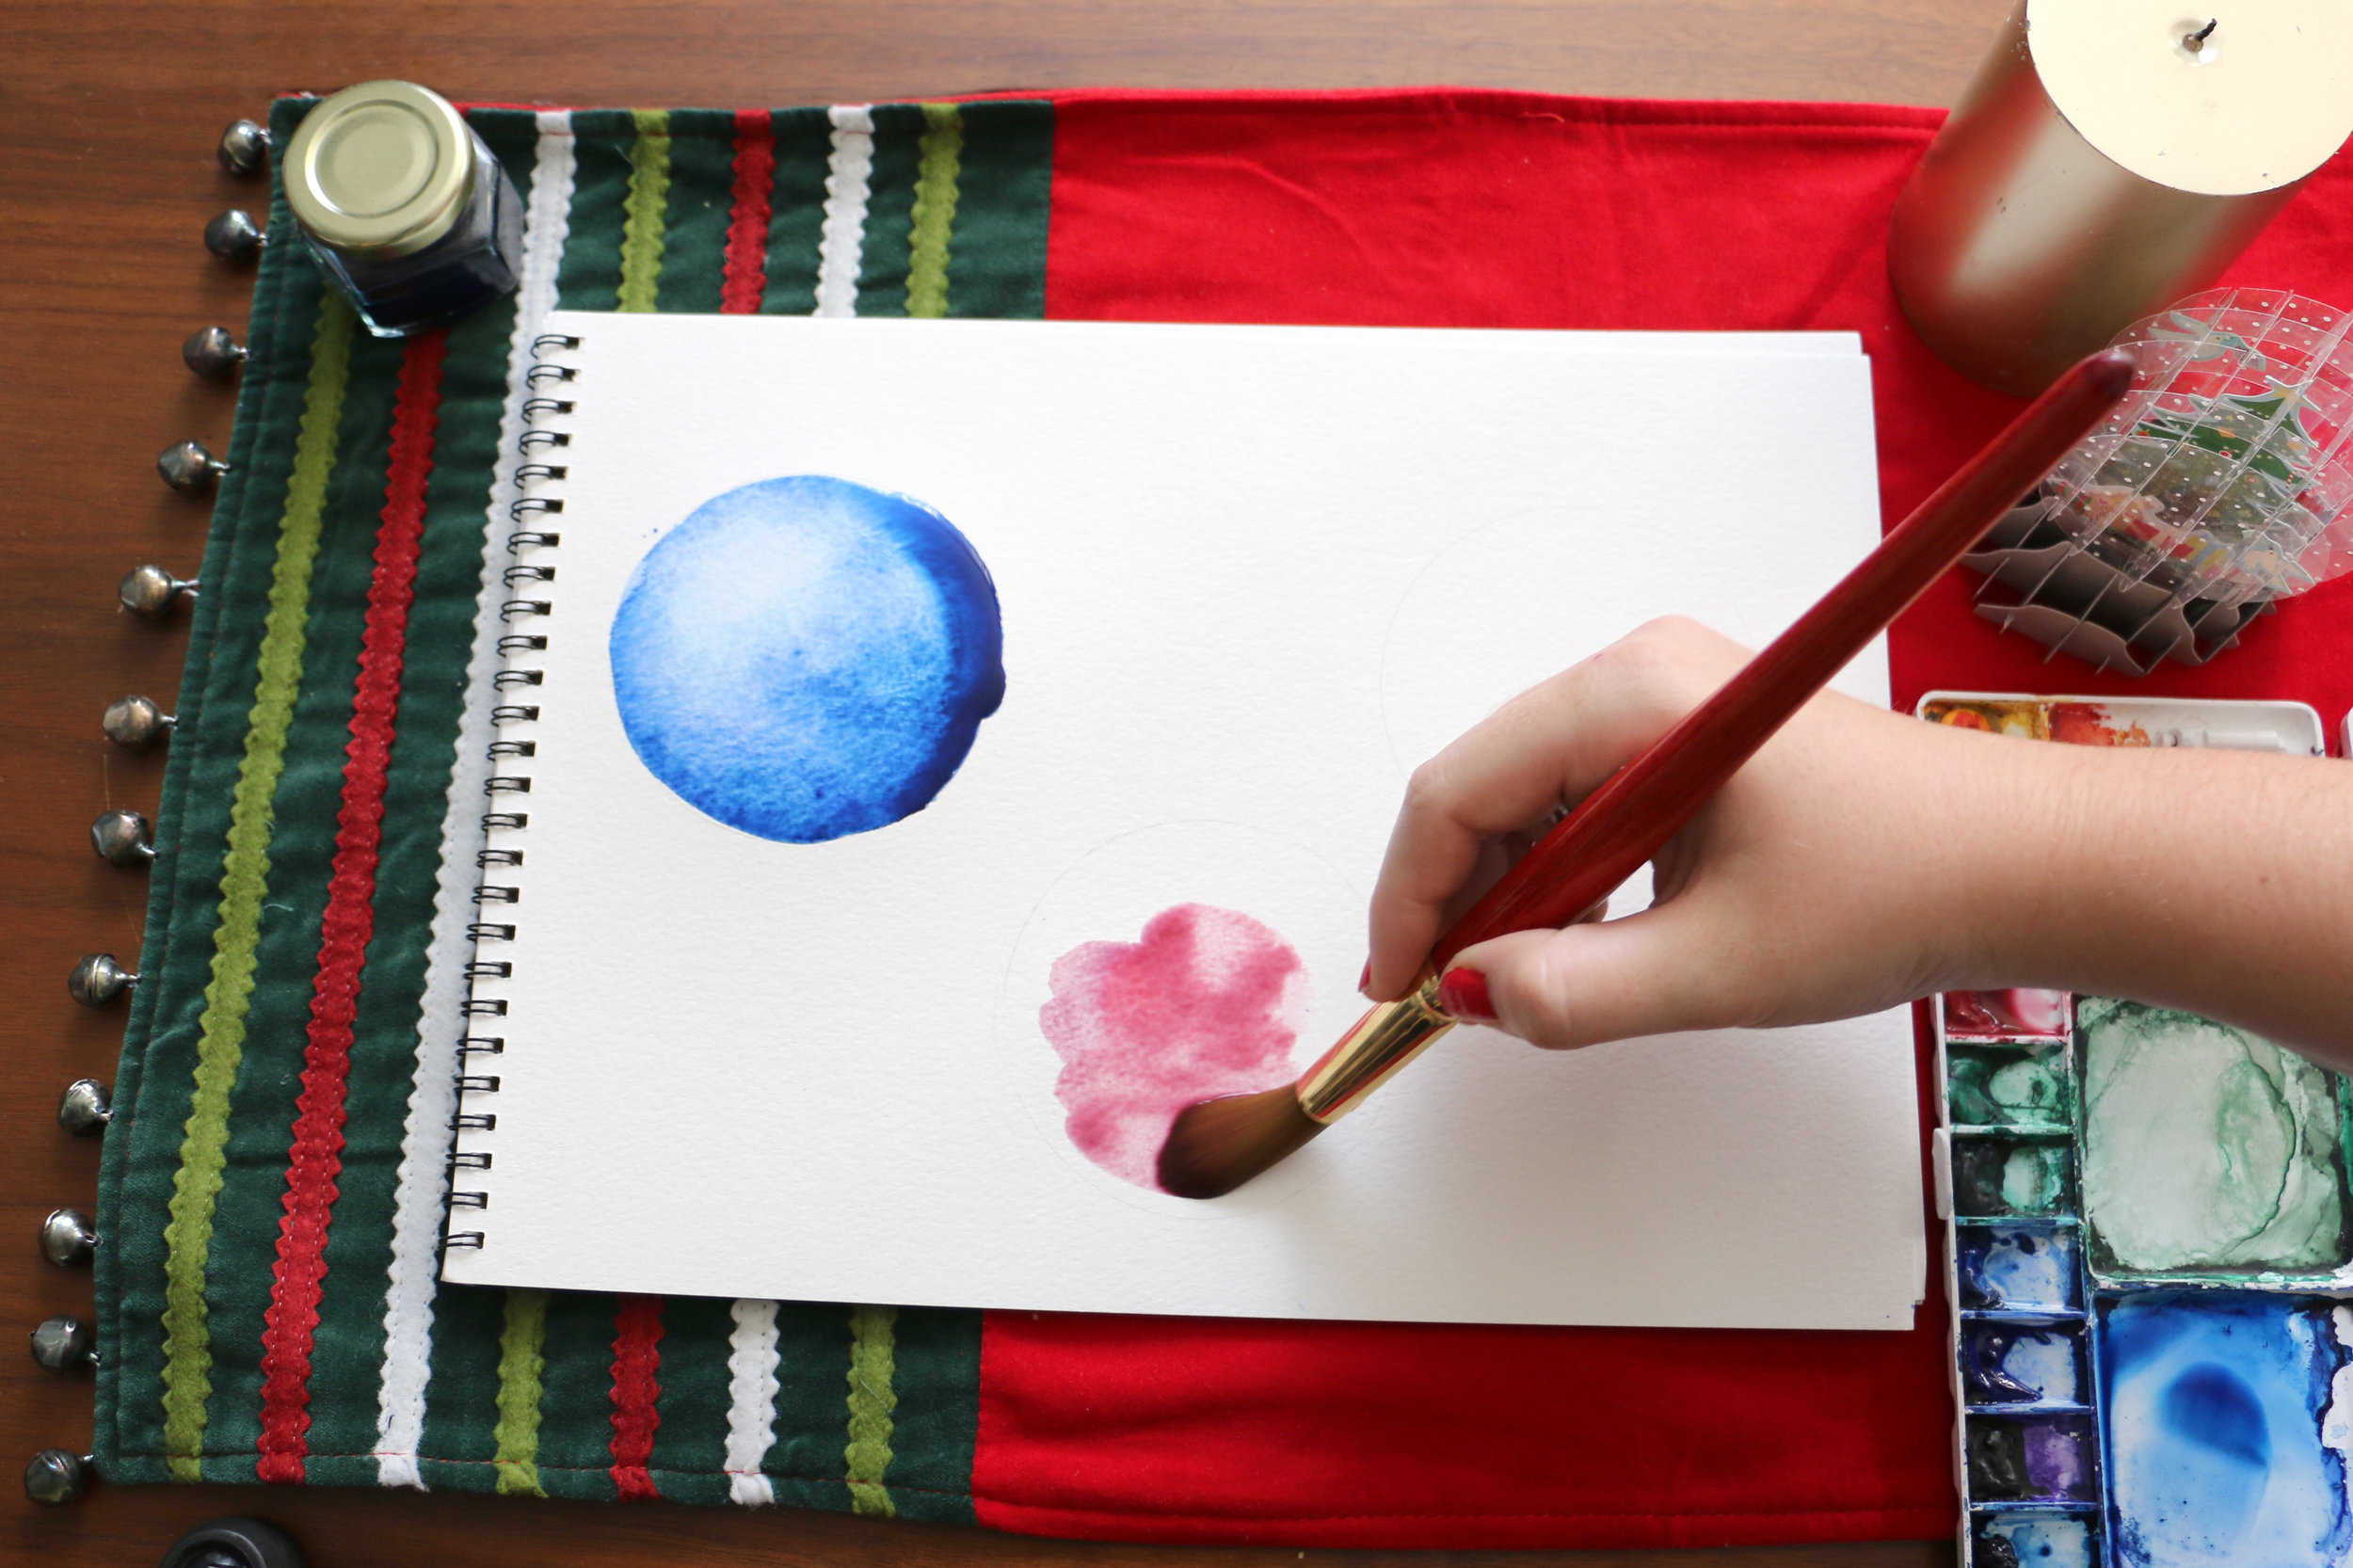
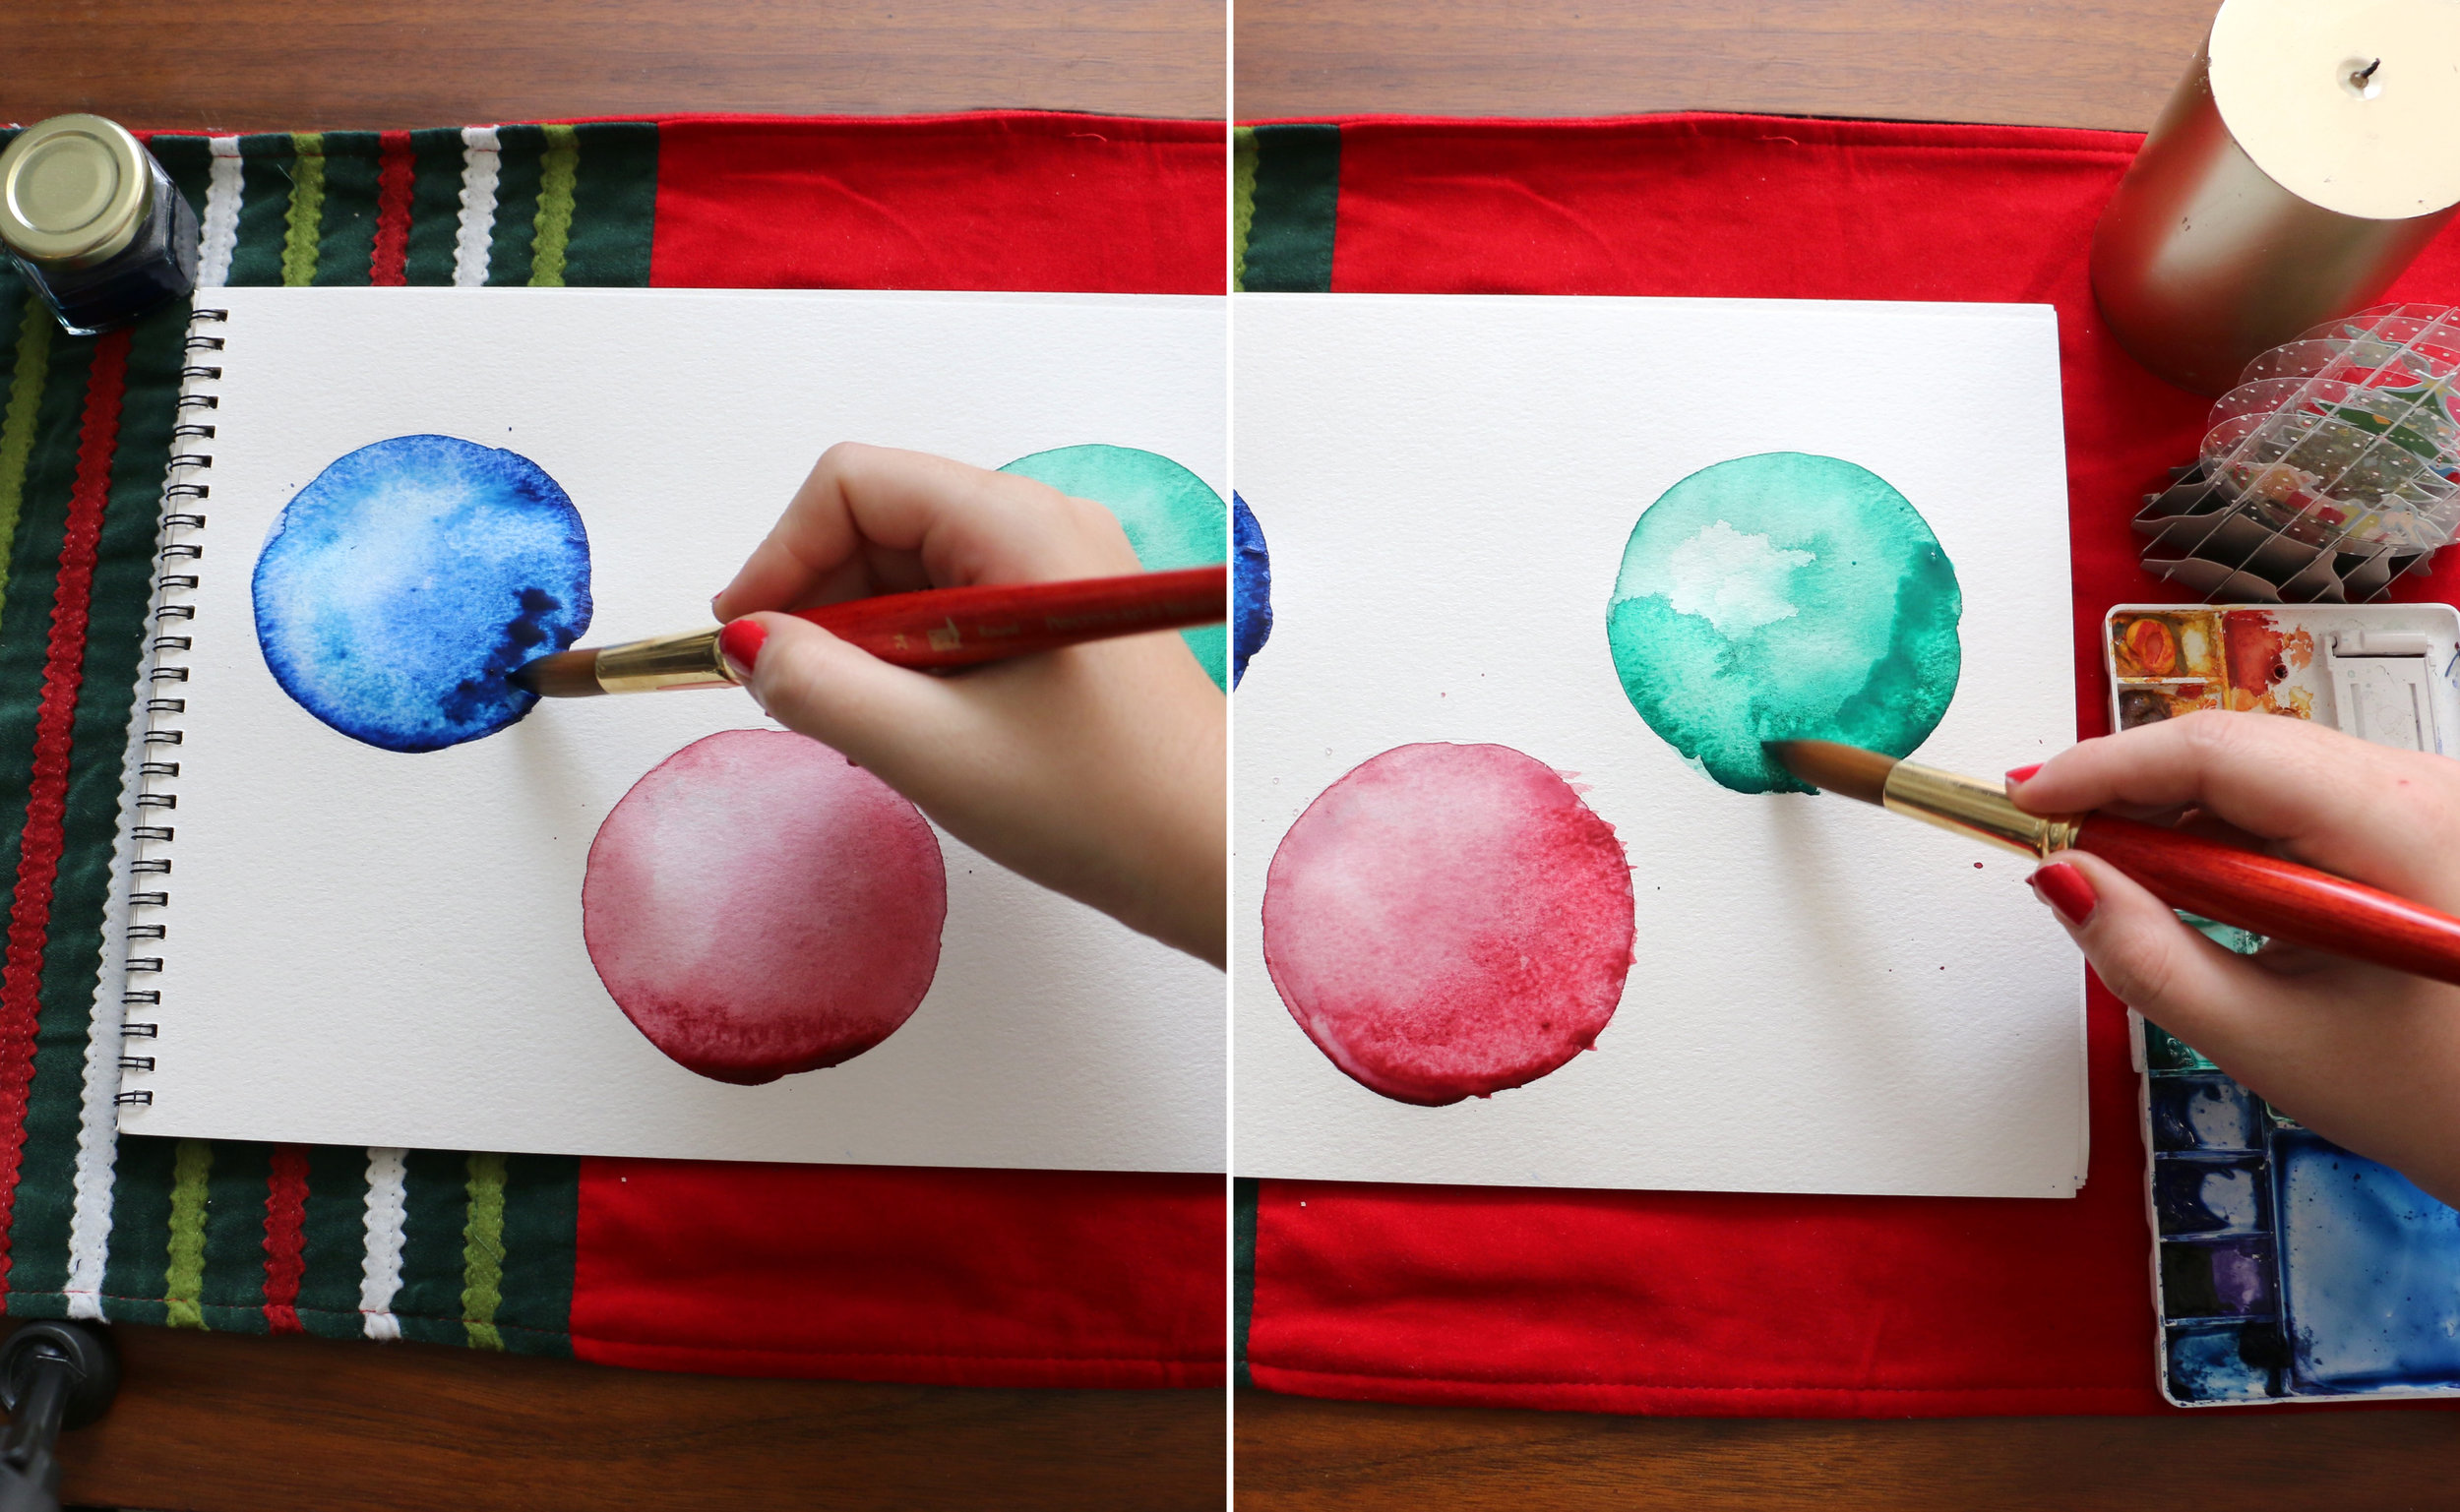
Repeat the steps above for each ornament. I've created three ornaments on my sheet.
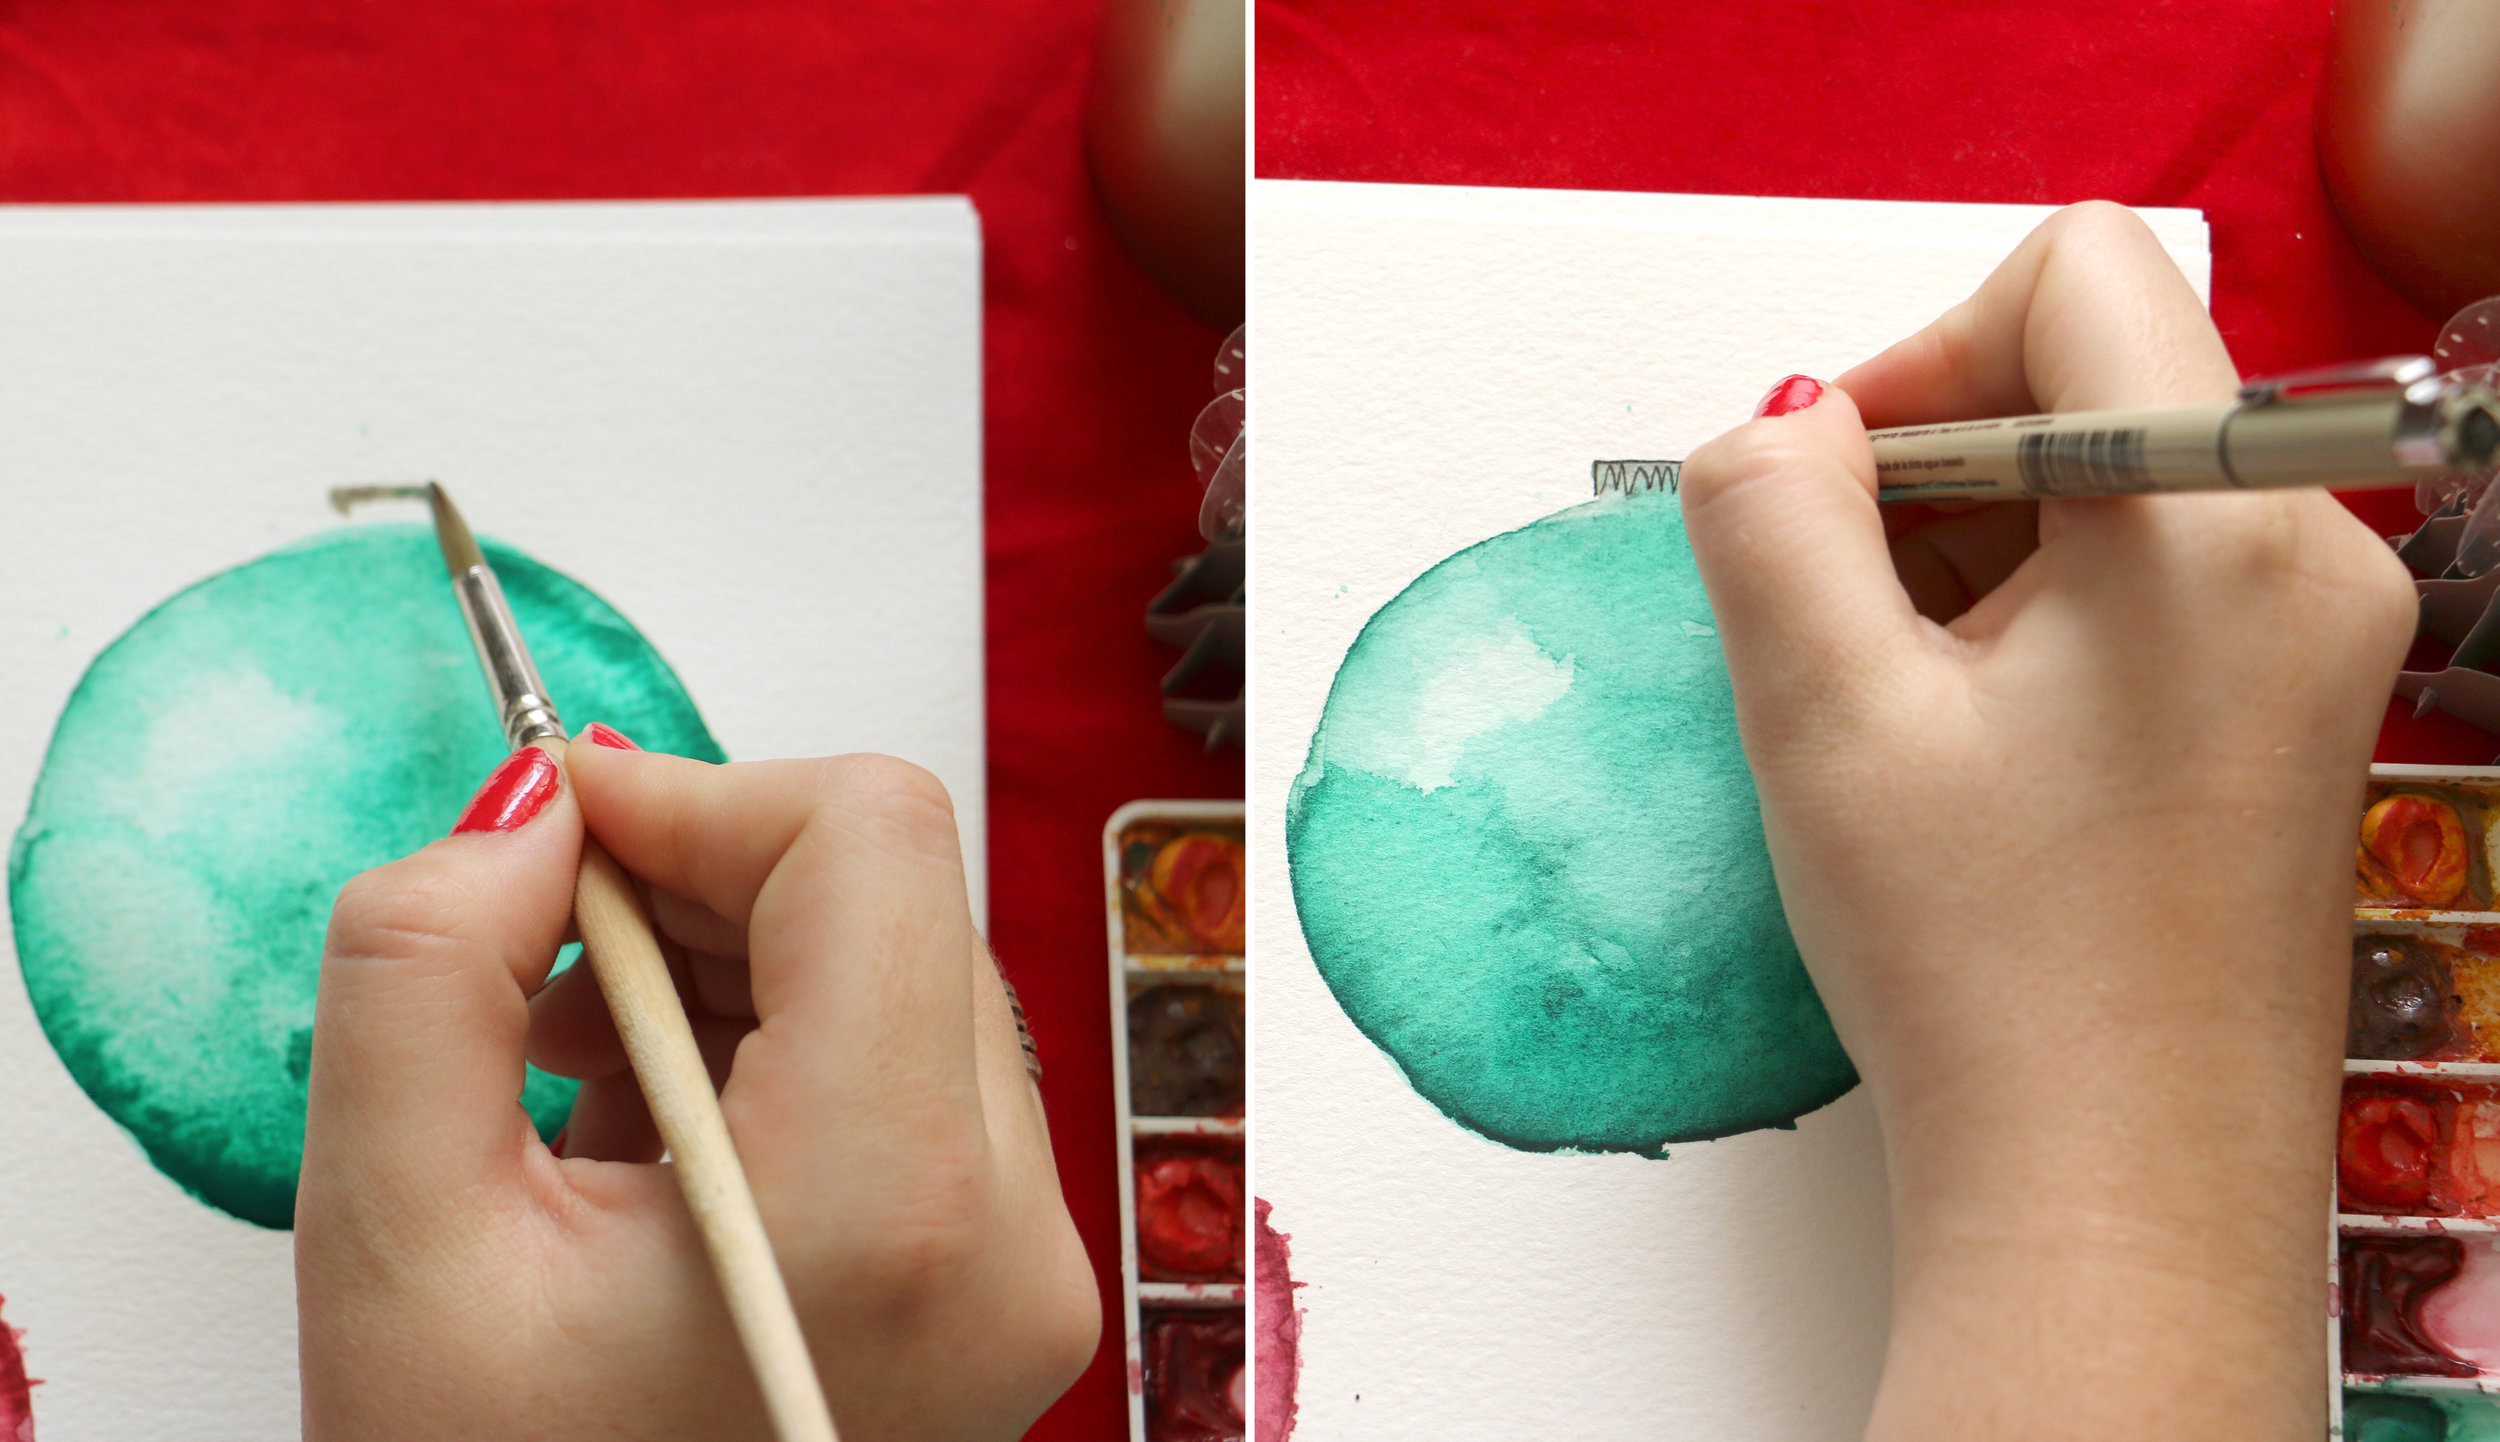
Allow each ornament to completely dry. Once everything is dry, add a second layer of shadow and highlight as described above. This punches up the color and makes everything as vibrant as possible.
Allow this layer to dry completely. Then, use a light gray watercolor and a small round brush to paint a small rectangle at the top of each ornament for the metal cap. After the caps are dry, use a thin black marker (I use Micron size 05) to draw the ridges on each cap. Finish by drawing a line from the metal cap to the top of the sheet to represent the line the ornament is hanging from.
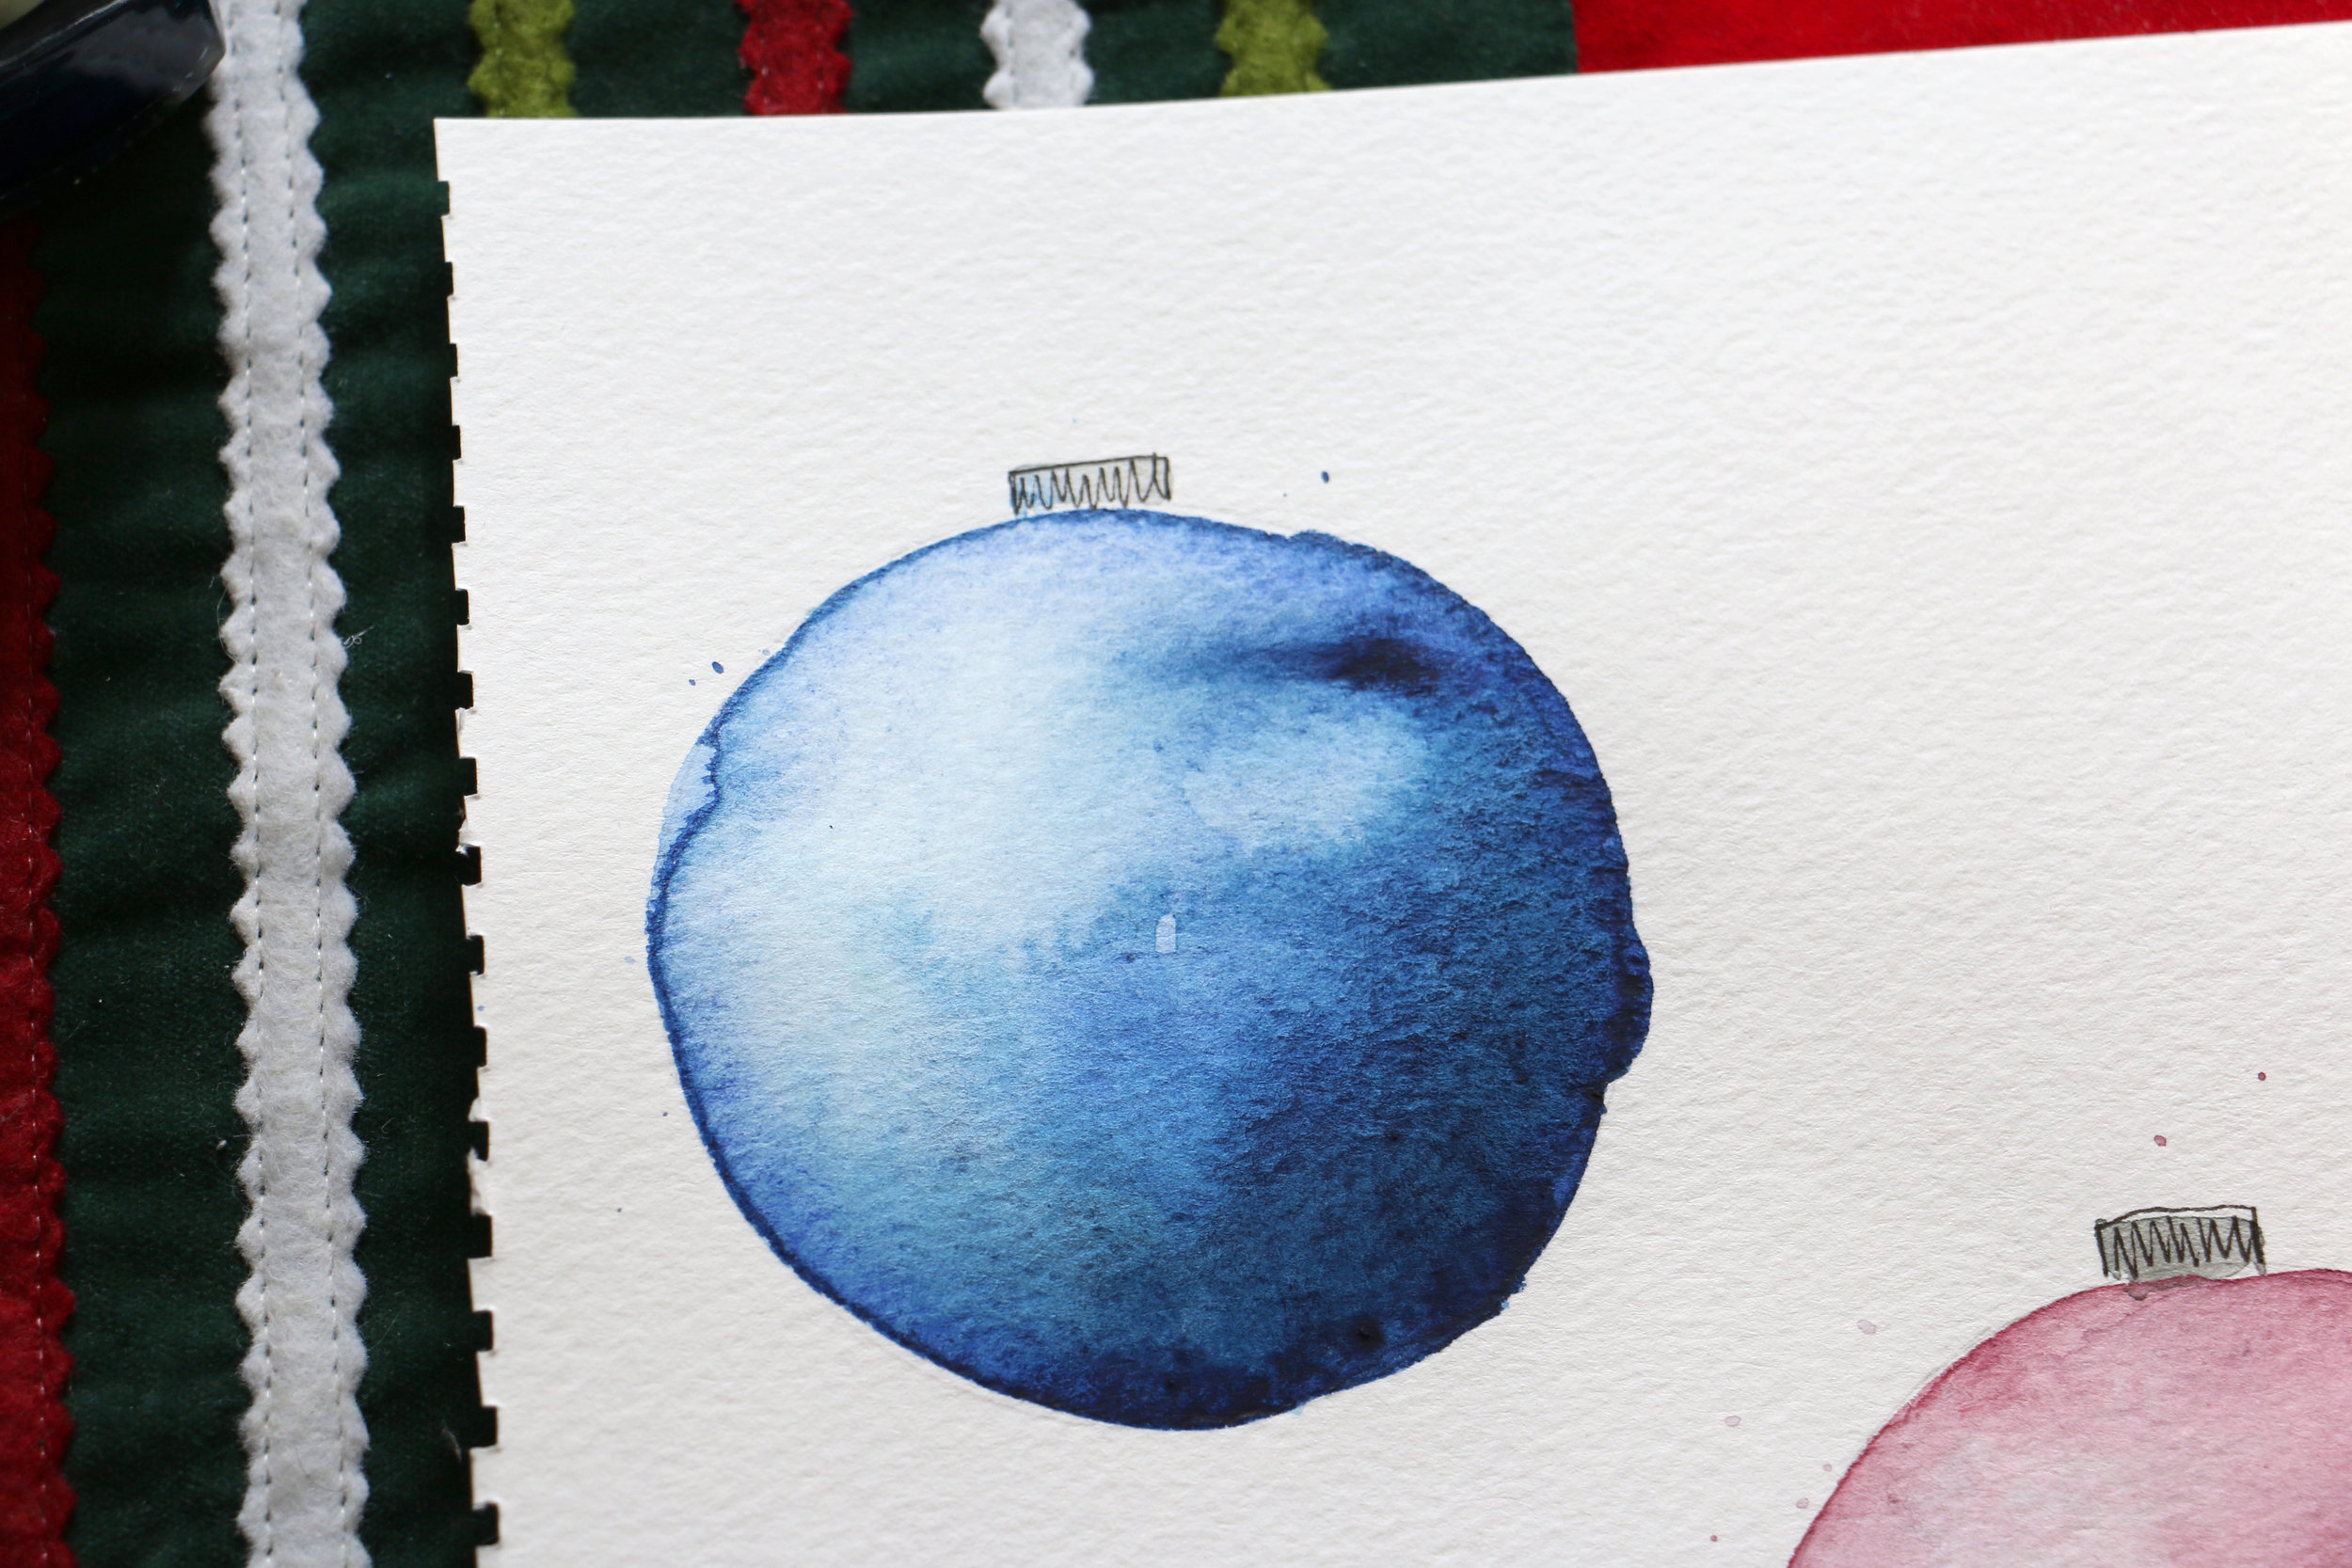
Erase the pencil lines and there you have it, your lovely ornaments are complete. Enjoy! Cut these out to decorate your Christmas tree or use them to customize your own holiday stationery. I scanned mine into my computer and created holiday cards. Check them out below and buy some here!

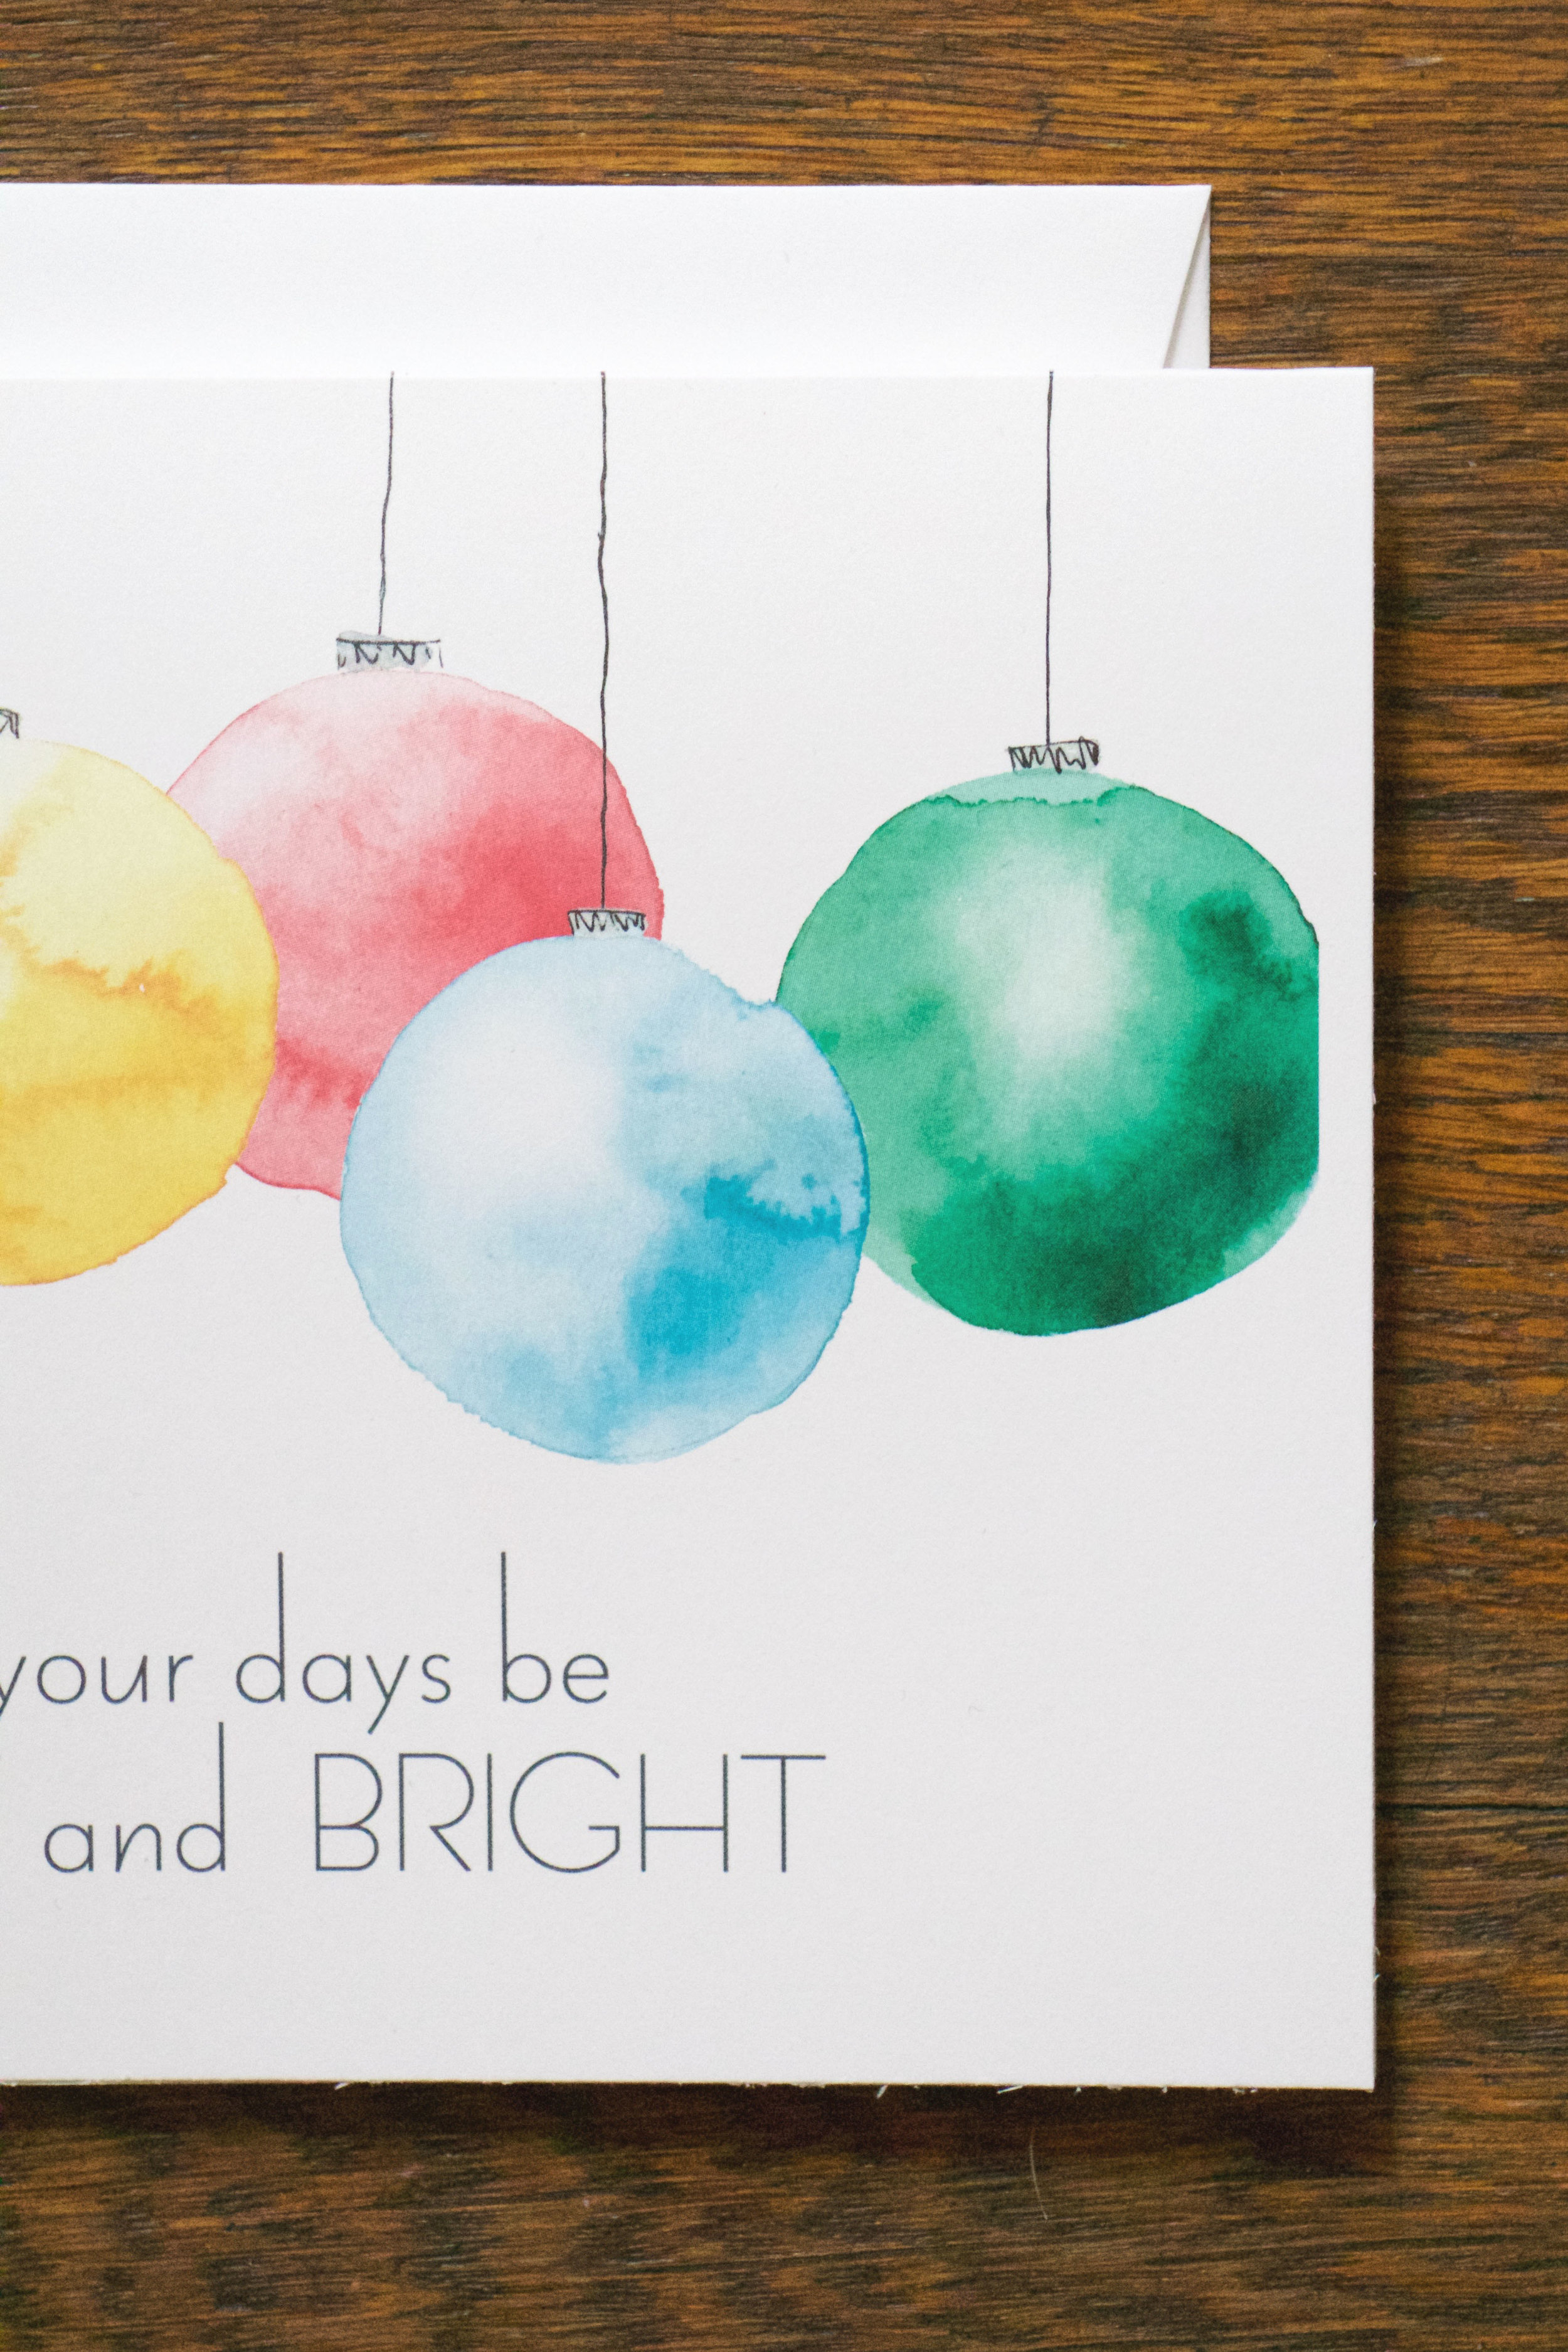
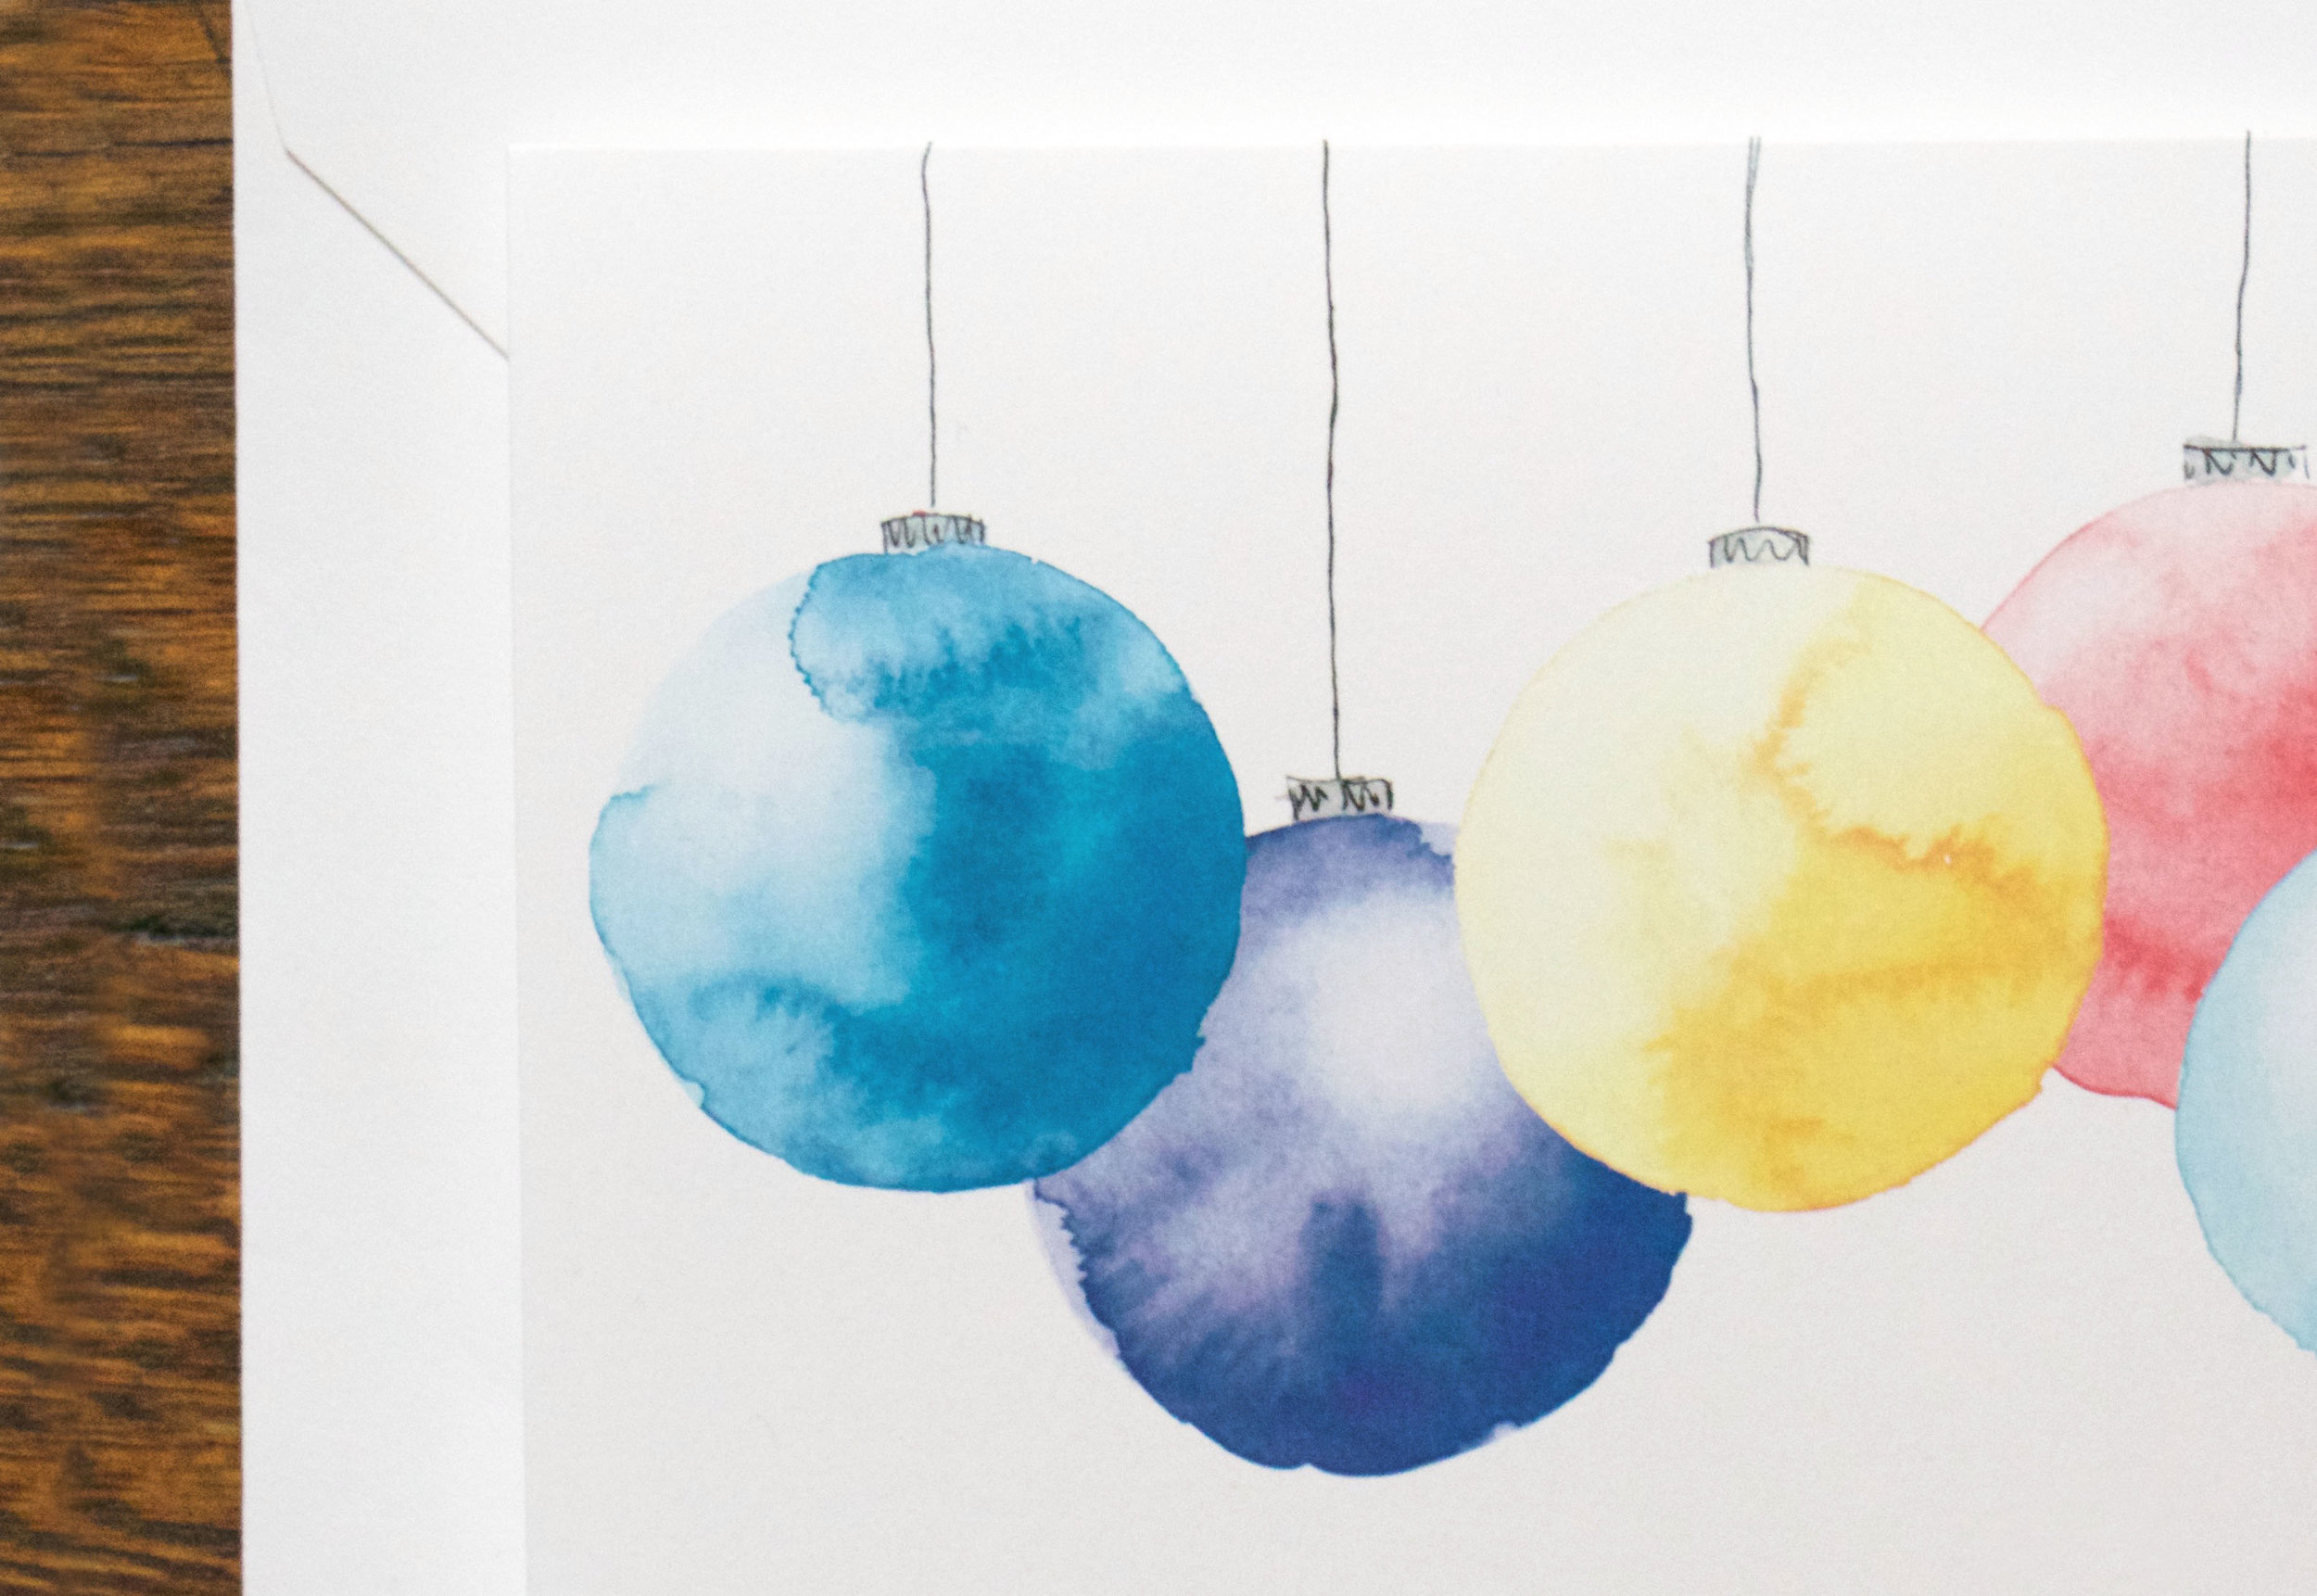

Want to see the whole process from start to finish? Take a look at the time-lapse video below. Shoot me an email at paperbyjlee@gmail.com if you have any questions and shop my holiday stationery (including the ornaments) here.
Have fun watercoloring!
Jennifer
Shop This Tutorial!
You May Also Like...

READ MORE

READ MORE

READ MORE